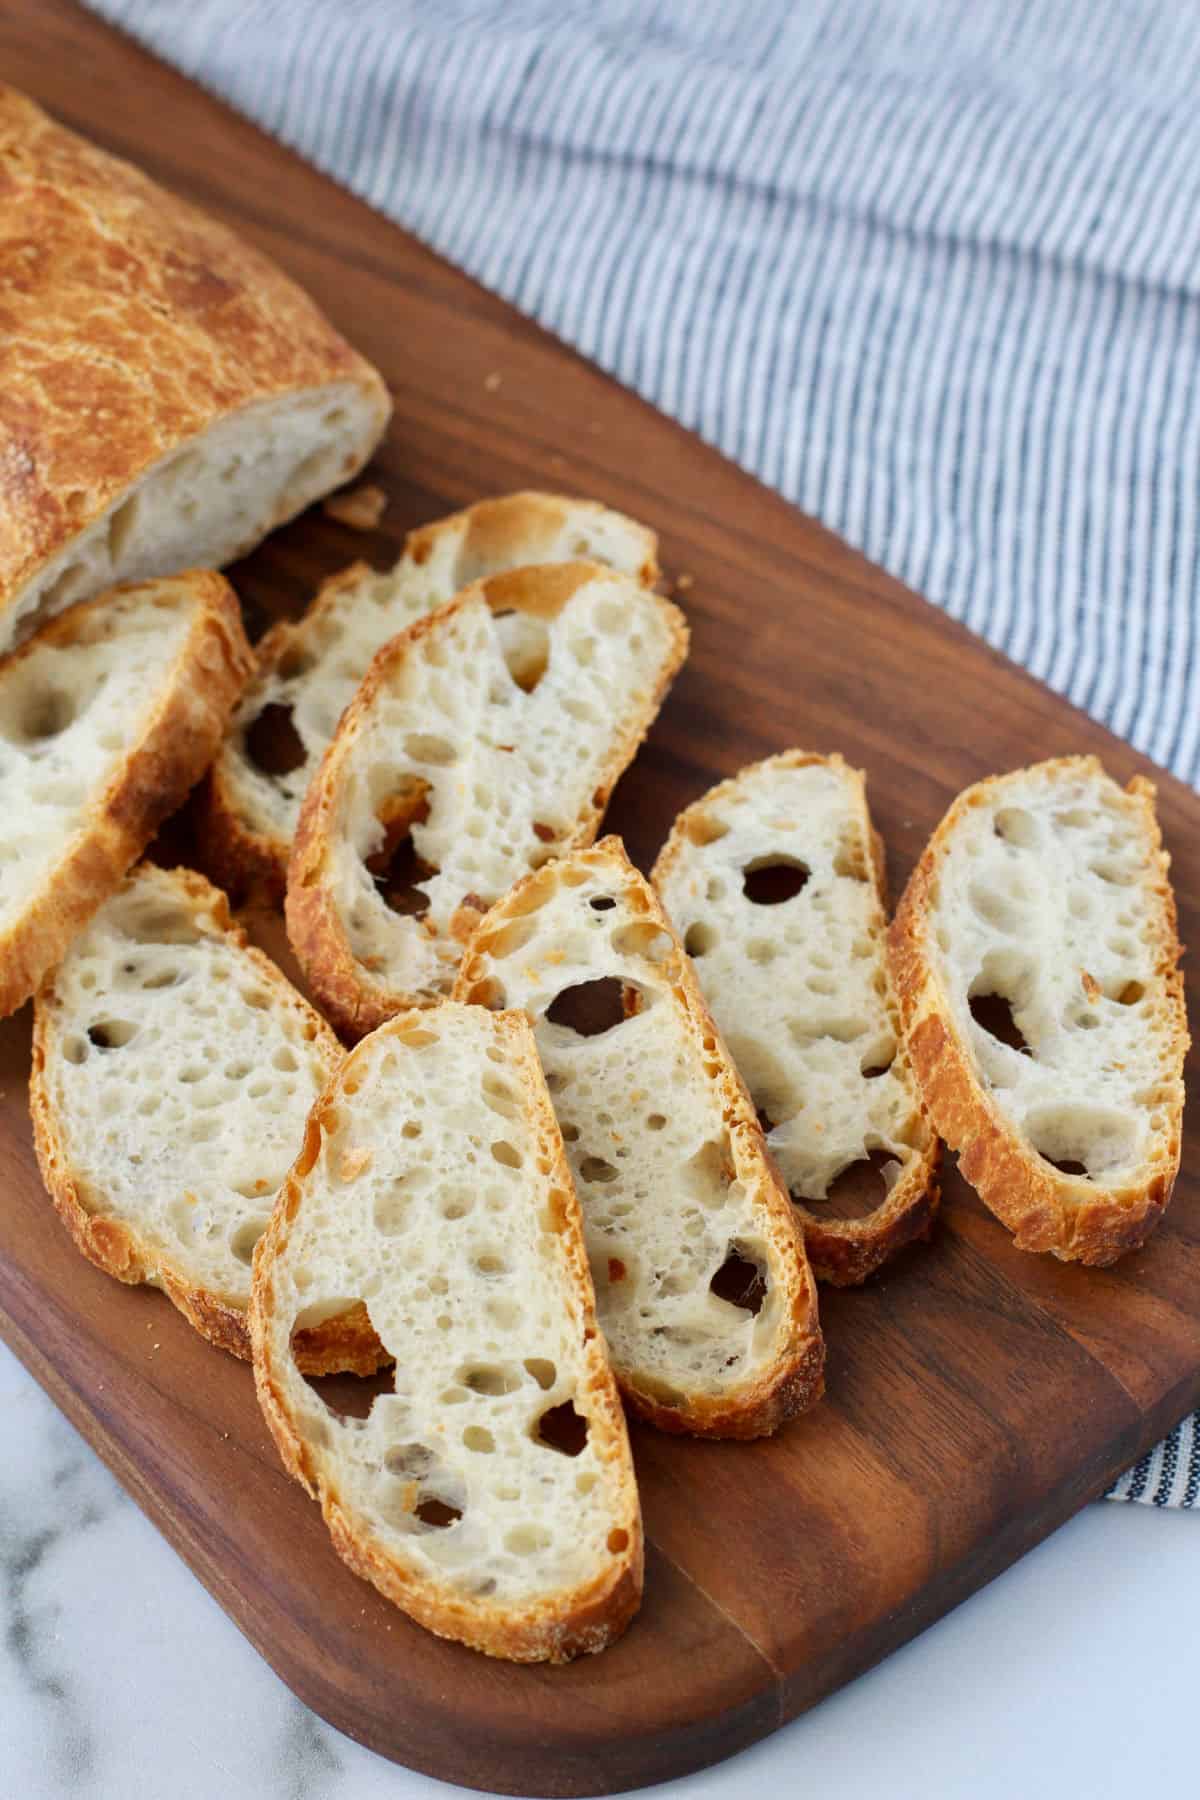
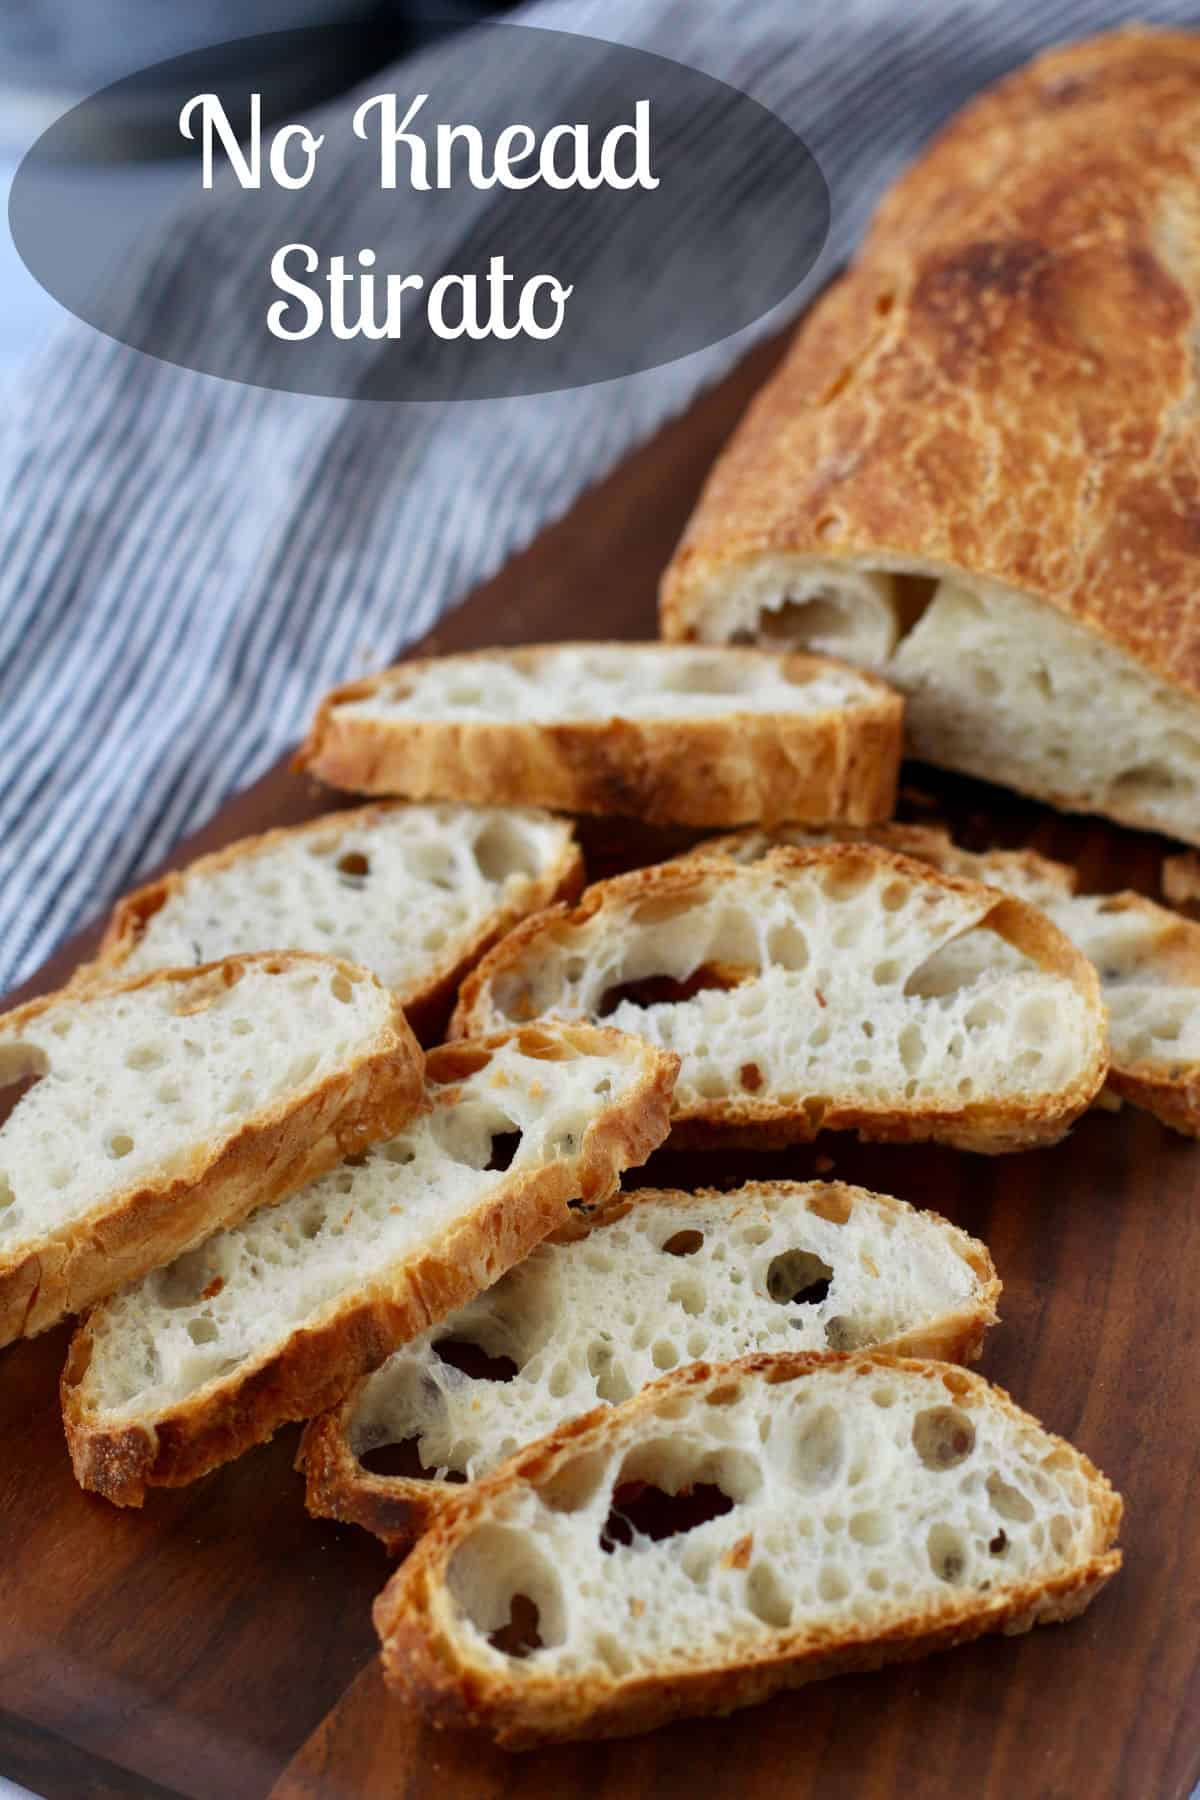
This stirato, or Italian baguettes, is a super flavorful and airy bread that is so easy to make.
Stirato is a form of ciabatta that is cut into lengths and then stretched just before baking. The term stirato actually means "ironed" in English.
This is a no knead bread, with the first rise lasting up to 18 hours to develop flavor. The flavor definitely lives up to the hype, and the thin crispy crust just sings when you first pull it out of the oven.
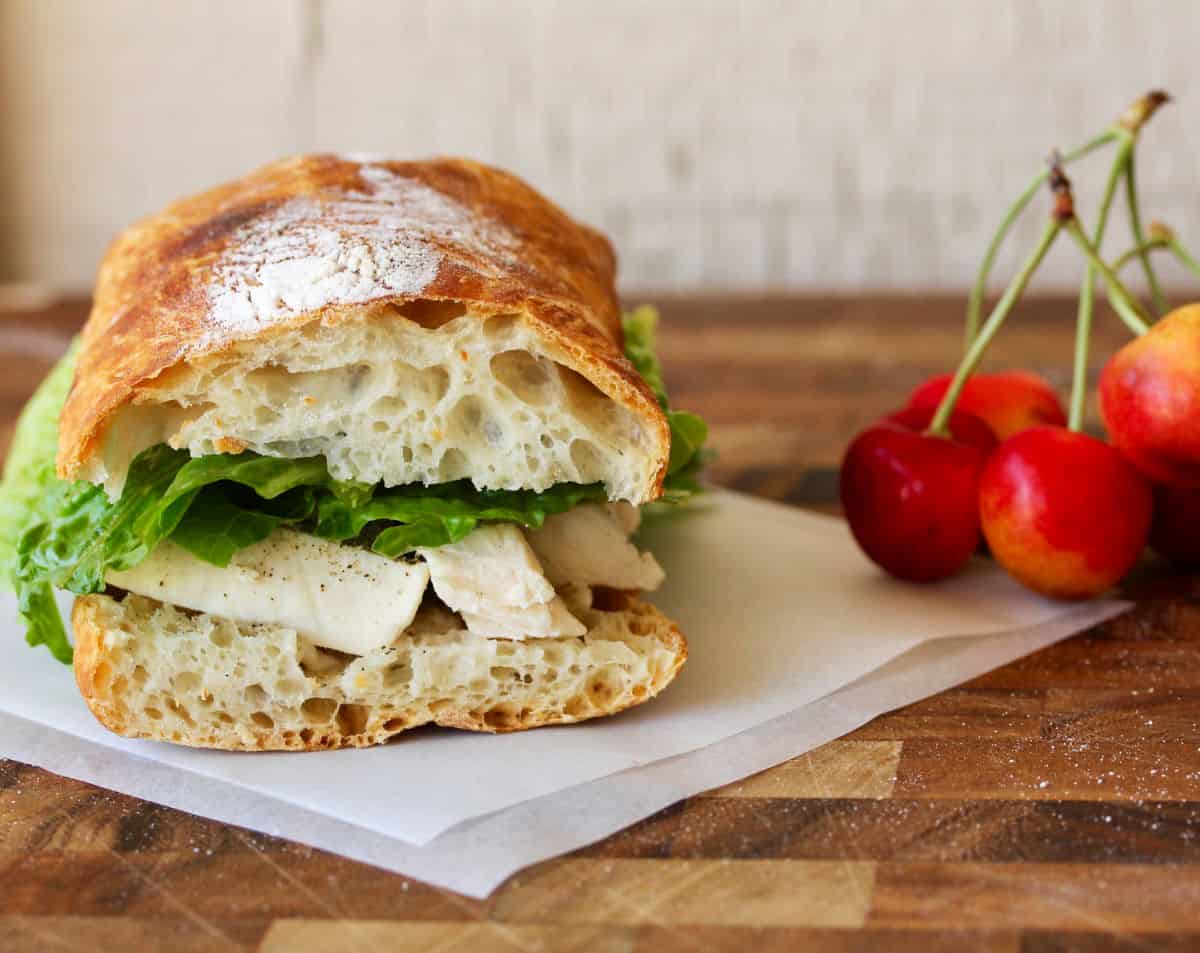
It's incredibly easy to make, and the recipe is pretty foolproof. You can slice it crosswise for bruschetta or crostini, lengthwise for sandwiches, or use it for dipping in olive oil and balsamic.... or pizza sauce. It makes great garlic cheese bread too.
The bread is so-named by Jim Lahey, who perfected the no knead method of baking bread at his Sullivan Street Bakery in New York City. His innovation was later immortalized by Mark Bittman in the New York Times.
I've also made this stirato with durum flour with great results.
How to Make Stirato Bread:
First, mix flour, water, salt, and yeast in a bowl, cover it, and let it rise for about 12 hours.
Next, turn the dough out onto a floured surface and shape it gently into a rectangle. Fold and roll the dough over itself into a log, and then cut the log into two pieces and let them rise.
After that, once the dough rises, gently stretch the dough pieces out and place them on a piece of parchment for baking.
Finally, place the parchment on a preheated baking stone and bake for about 20 to 30 minutes.
I baked this bread on a baking stone and covered each loaf with the lid and the inverted bottom of this SuperStone /Covered Baker. While this is not how the baker was intended to be used, this hack worked great!
If you don't have the baker, I recommend either making sure there is plenty of steam in your oven, or covering the loaves with disposable aluminum pans or the lid of a roaster. The cover just needs to be around the same size as your baking stone.
If you don't have a baking stone, you can use a baking sheet covered with disposable aluminum pans.
This stirato makes excellent crostini and bruschetta. You can stretch the bread out longer for smaller slices, or less so for fatter slices.
You can easily freeze these loaves and recrisp them in the oven.
They are perfect for submarine-style sandwiches, French bread-style pizzas, and for dipping in soups and stews.
While I've been successful making and shaping all kinds of breads, I've struggled with French baguettes, particularly Julia Child's recipe in Mastering the Art of French Cooking, Volume II. The recipe is about 20 pages and I ended up with pancakes!
The closest I came to success were the baguettes from Baking with Julia by Dorie Greenspan. Julia's guest baker was Danielle Forestier. At least they were round and not flat!!
With this stirato, even though you don't necessarily have the perfectly slashed French loaves, you end up with pretty foolproof, airy, and totally flavorful bread. Plus, they made amazing little bruschetta toasts.
The recipe for this bread has been adapted from My Bread: The Revolutionary No-Work, No-Knead Method by Jim Lahey.
For similar Italian style baguettes using a different method, check out these Pain à l’Ancienne Baguettes.
Originally posted July, 2014 and updated, July, 2022.
Stirato (Italian Baguettes) Recipe

ingredients:
- 400 grams (3 cups) bread flour
- 1 1/4 tsp salt
- 1/4 tsp instant yeast
- 300 g (1 1/2 C) cool water
instructions:
How to cook Stirato (Italian Baguettes) Recipe
- In a medium bowl, mix all of the ingredients with a dough whisk, a large spoon, or your wet hand, until everything is moistened, about 30 seconds to a minute.
- Cover with plastic wrap and let sit for 12 to 18 hours until totally bubbly and doubled in size.
- Dust your counter with flour and scrape the dough out of the bowl in one piece.
- Gently nudge the dough into the shape of a rectangle and then fold it over itself from each long side as if you were creating an envelope. With your hands, gently roll the dough out into a tube and then cut the dough in half, width-wise.
- Place the dough pieces, seam side down, on a floured sheet pan sized piece of parchment and cover with oiled plastic wrap.
- Place a baking stone on the center rack of your oven and place whatever cover you will be using on top of it (or set up your oven for steam). Preheat the oven to 475 degrees F.
- When the dough has about doubled (30-45 minutes), pick up each piece and stretch it out to about 13 inches in length.
- Remove the hot cover from the stone, and, using a peel or the back of a baking sheet, place the parchment with the dough onto the stone and place the hot cover/s over the loaves.
- Bake for 20 minutes. Uncover and bake for another 10 to 20 minutes, until a golden brown.
- Cool on a wire rack.


Looks just delicious! I could probably eat it alone :)
ReplyDeleteOh me too Medeja!
DeleteWow! We didn't know our neighbors, the Italians also had a type of baguette. Stirato looks and sounds fantastic, thank you both for the recipe and the education Karen! Have a beautiful day!
ReplyDeleteWow. This bread looks incredibly delicious - especially made into the sandwich. Love the picture of the loaves standing on end - nice shot.
ReplyDeleteTempted to make these on the weekend. I am so glad I'm not the only one who owns bread books for years without actually BAKING a bread from them ;-) We will get there, one cookbook at a time...
ReplyDeleteI just made this past weekend the pizza dough from Lahey's new book, and was not terribly impressed - in my opinion, to do the no-knead he pushes the hydration level way too much, I prefer a minimal kneading a la Dan Lepard, associated with a dough with a bit more structure. But, I love the way your baguettes turned out, perfect crumb and crust.... I want to try them....
great photos too
He definitely pushes the hydration level! Thanks!!!
DeleteGorgeous! I'll have to give these a try. Lahey's basic no-knead was my next step after Artisan Bread in 5 and it was my weekly go-to until I fell in love with Flour Water Salt Yeast. But your photos of the stirato are calling me back. That crumb looks to die for…
ReplyDeleteThanks Robin. I was just feeling guilty about never baking from Lahey's book!
DeleteAny reason why you didn't bake it in the Sassafras Baker instead of putting it on the stone and covering it with the lid?
ReplyDeleteHi! Because there were two loaves, which I wanted to bake at the same time.
DeleteThanks Karen
DeleteThanks to Siu ling HuiI was looking for this recipe i remembered it to be in your header you changed it and I got confused :), thank God found it I have fallen in love with this and badly want to try it
ReplyDeleteThank you so much for the recipe. I am absolutely thrilled with the results even though I'm a totally bread baking novice. Hevz xx
ReplyDeleteYour Pictures got me, I love those big holes and crisp looking crust. I will have to try then all.
ReplyDeleteErnie
Thanks so much Ernie!
DeleteThey just came out of the oven, they look fantastic !
ReplyDeleteThe twist even made an ear, something I rarely get when I score a dough!
Thank you so so much for sharing this fabulous recipe, and the other one with durum flour which was amazing as well.
I love it!!! A friend of mine made it with 100% durum, which I've never had the nerve to try. So happy you like it!
DeleteKaren I wrote this recipe down from the Artisan Bread group and finally made it ~twice now! Yummy And fool proof!!! Wish I could post pictures here! Delma
ReplyDeleteThanks for letting me know! It is one of my favorites.
DeleteHow long are the loaves just before the last stretch is performed before baking?
ReplyDeleteAbout 6 to 8 inches.
DeleteThis recipe uses Bread flour, whereas most ciabatta recipes seem to use regular All Purpose flour. (I do have bread flour so that isn't a problem....and find I love it for making chewy focaccia) The loong first step is not to be ignored by the impatient. Your recipe seems to come up with the perfect large many holes, which is what I love....so is it the Bread flour?
ReplyDeleteI made this yesterday and wow they turned out perfect!! Thanks for this great recipe. I've booked marked it.
ReplyDeleteI'm so happy to hear that!
DeleteHi Karen, this recipe calls for only 1/4 tsp. of yeast? I've NEVER had a bread recipe that called for such little amount of yeast, given the amount of flour 3cups+1tbsp.I let rise over night w/little expansion.
ReplyDeleteJust took it out of oven looks good I'm letting it cool. I hope it's baked on the inside. It's crunchy looking on both sides. Just wanted to know if the yeast measurement was correct? Please, let me know & I will keep you posted on the taste. TY
That amount is correct. I hope you like it!! I'm surprised that you had little expansion though, unless your kitchen was very cold. Hopefully you had nice oven spring!
DeleteOh! Karen your bread turned out
ReplyDeleteFANTASTIC! It was so yummy crunchy & delicious. My husband said. You can make that AGAIN!!! And I will!
I believe the room was a little cold & not due to 1/4 tsp of yeast. Much Appreciated. God Bless & HNY 2022
Mary
Incredible. I'm a very novice baker and had to do my best with what I had but these still turned out great. I used AP flour instead of bread flour, and baked uncovered with a baking sheet of hot tap water added underneath at the start. No baking stone, just another cookie sheet under the parchment paper. 30 minutes later, these came out perfect. I did have to let it rise for 18 hours to get it to double and have lots of bubbles. My family devoured both loaves! - Diana
ReplyDeleteHello Karen, I need your help! I have made these 3 times now and while the taste is amazing, they come out of the oven flat and super hard. I live in FL with room temperature of 78 and although I use half the yeast in the recipe, my dough doubles at around 10 hours. Should I go by the volume and proceed to shape when it doubles at 10 hours? I’ve given it 12 hours, then shaped (cut) the dough, gave it another 1.5 hours but it does not double! So I don’t know whether I’m using too little yeast or the dough is actually overproofed and can’t rise any more. An help would be greatly appreciated!
ReplyDeleteI've found that I can let it sit a bit after it has doubled on the first rise, but I live in California. I'd try the full amount of yeast and be super gentle with the dough.
DeleteI made this yesterday. I used AP flour because I couldn’t get bread flour. Turned out perfectly! Thanks
ReplyDeleteKaren!
That's great to hear!
DeleteVery impressed with your breads, but I'd like to hear alternative that don't require the addition of salt. Most of the people in this country today are or should be on low-sodium diets. There is a no-sodium baking powder from Hain, but I haven't been able to try it out, but I would be sure not to use a baking powder with potassium chloride substitute, because the potassium tastes like insecticide.
ReplyDeletecommacct1343@gmail.com
There is no baking powder in this bread. You could try Tuscan bread for salt free bread but it's pretty flavorless.
DeleteHi Karen! I love your no-knead bread recipes; they are so simple and turn out wonderfully :D If I were to use whole wheat bread flour in this, would you recommend changing anything else (ie water or yeast amounts)? Thank you!
ReplyDeleteHi! I would limit the whole wheat to about 25 percent to start, and see what happens! A friend used 50% durum and it worked but not sure about whole wheat.
DeleteCurious how long that stone baking pan of yours is ? Thanks
ReplyDelete14 1/2 inches.
DeleteI made this today and and I absolute love it. I think I might love it more than my sourdough! My next experimental venture will be sneaking sourdough starter into it to see if I can enhance the flavor a little bit more!
ReplyDeleteI've actually been able to do that recently. I've combined it with a bit of yeast for great success. I'll have to post it soon! Thanks so much for trying this and letting me know!
Delete