This no knead durum stirato (an Italian ciabatta-style baguette made with a high hydration dough) is a fun and easy bread to make... and the flavor is amazing.
This bread is a take on stirato baguettes, but with added durum flour.
Durum flour is a very high protein wheat that is mostly used for pasta. It's yellow in color, and has a wonderful nutty flavor.
There is also semolina flour, which is from the same wheat, but more coarsely ground. While durum is a "hard" wheat and higher in protein, it is not particulary strong (in developing the gluten structure to hold air), so it requires handling with care when making bread.
I was was inspired by my friend David, who, after seeing my post about Stirato, decided to bake the bread with 100% durum flour. His bread was beautiful, however, I wasn't that brave.
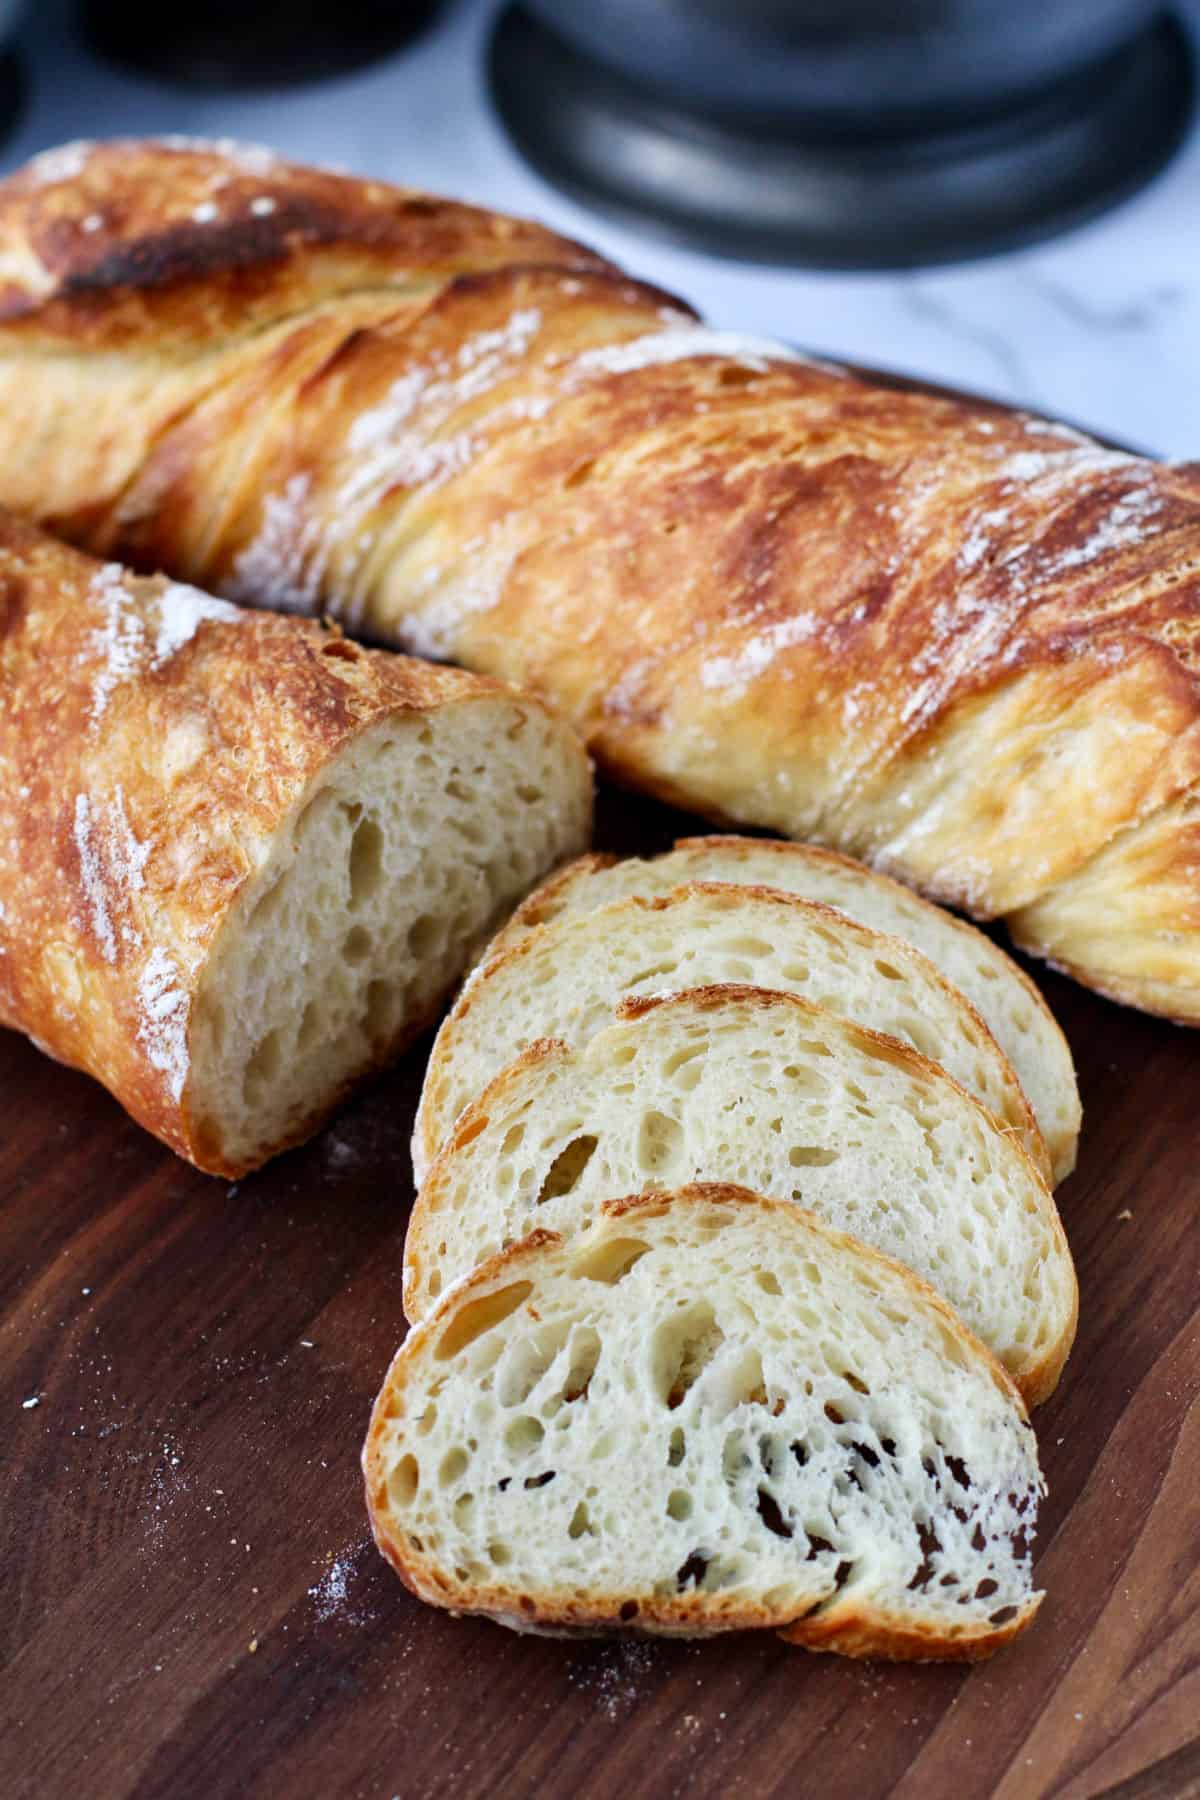
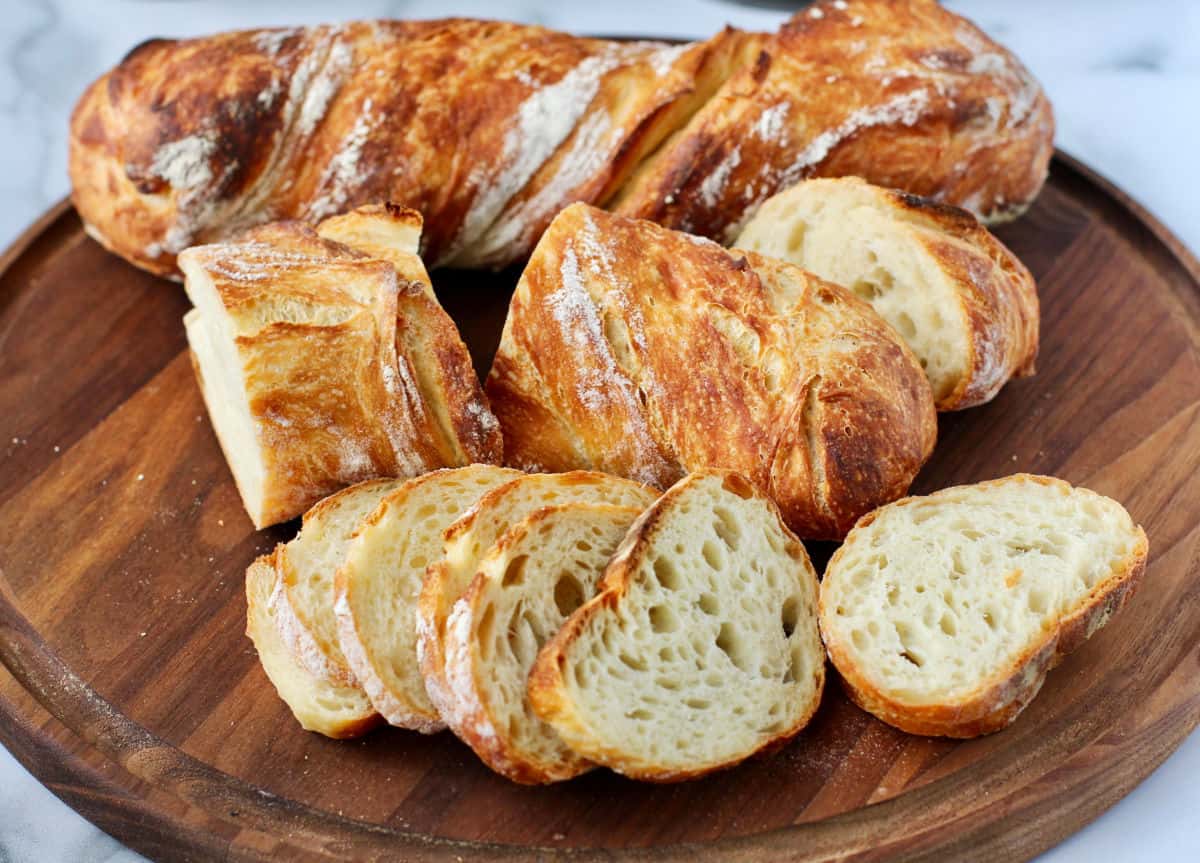
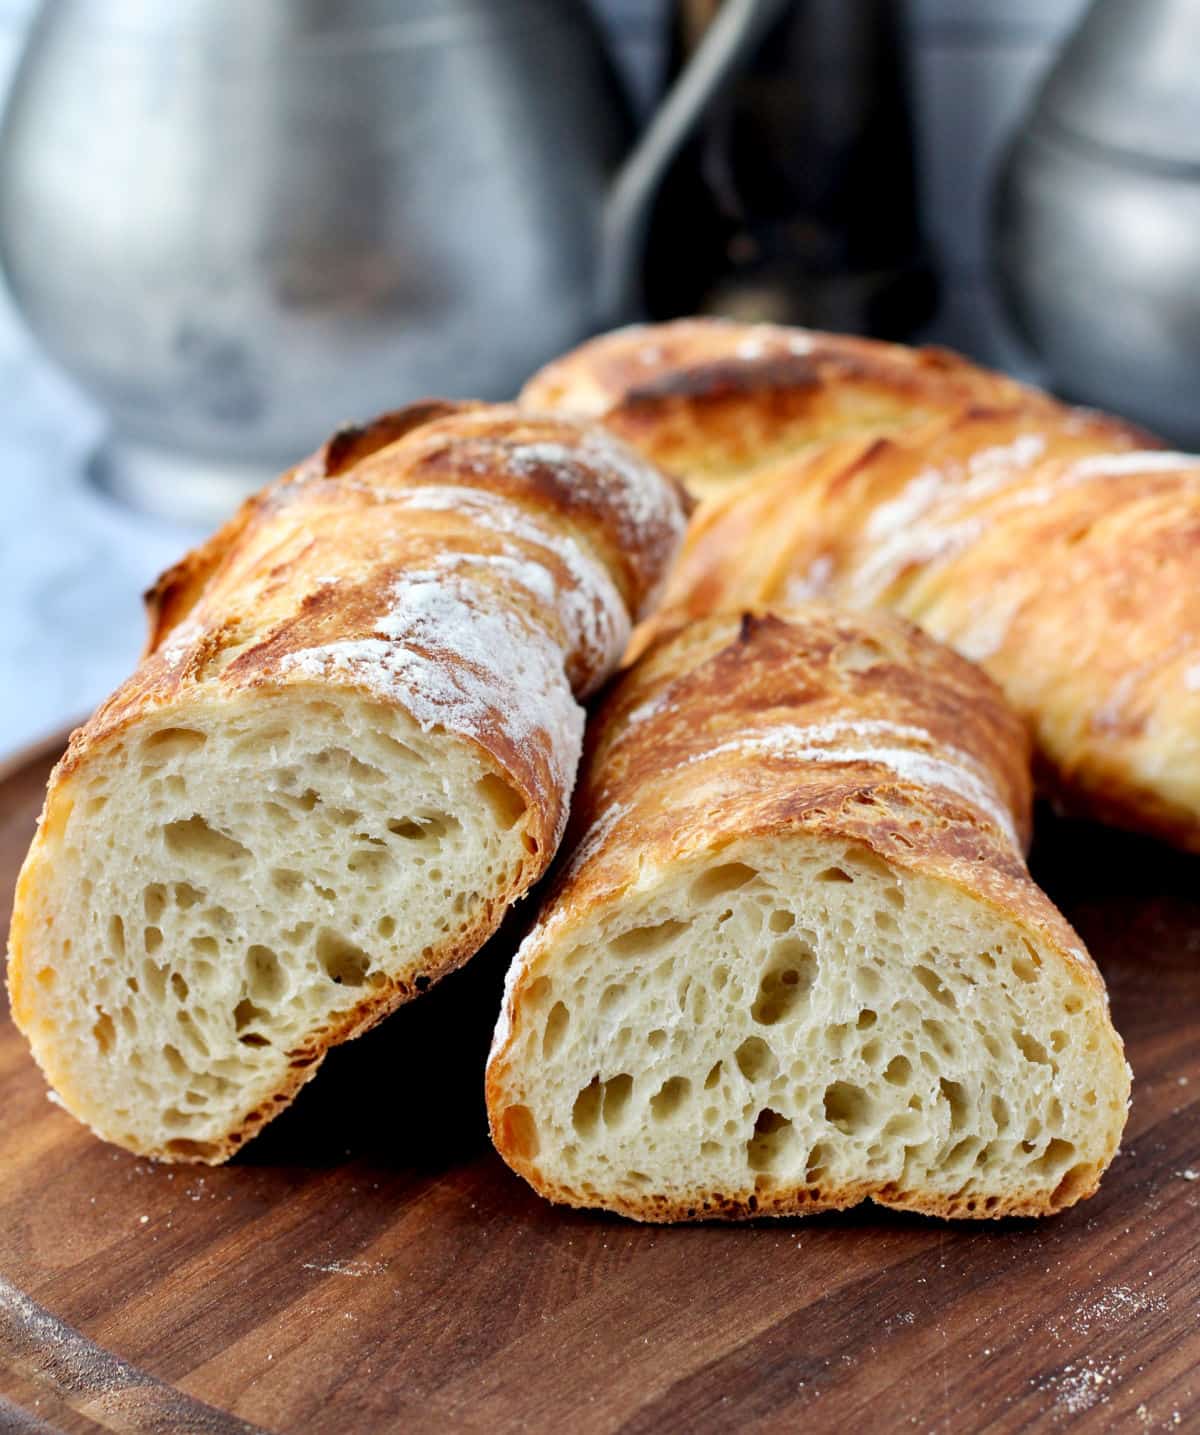
For these loaves, I used half bread flour and half durum flour. Instead of just stretching out the dough (stirato means stretched or pulled in Italian) prior to baking it, I also twisted the dough as I stretched it out.
Ingredients:
The ingredient list is pretty simple. All you need is bread flour, durum flour, salt, yeast, and water.
Try not to confuse semolina flour and durum flour. While they are from the same wheat, durum (or sometimes semola) is more finely ground. I usually buy durum flour from King Arthur Baking because they sell it in smaller quantities. You can also find it from other sources online in various quantities. I haven't been able to find it in stores.
More bread using durum:
Italian Style Durum Wheat Bread
Semolina Rolls with Apricots and Sage
How to make this Durum Stirato:
First, mix all of the ingredients together in a large bowl or dough rising bucket and cover with plastic wrap. Allow it to rise at room temperature for 12 to 18 hours.
Next, gently nudge the dough out onto a floured surface and stretch it into a rectangle. Gently fold the dough over itself like an envelope and then cut it in half, widthwise. Let it rise on a generously floured sheet of parchment.
When you are ready to bake, grab the dough pieces at either end and stretch them and give them a little twist and place them back onto the parchment.
I baked the two loaves on a pizza stone covered for the first half by an upside down foil roasting pan to create steam. If you don't have pan to put over the loaves while they bake, place a pan under the pizza stone or baking sheet and fill it with about one cup of boiling water to create steam when you first place the loaves in the oven.
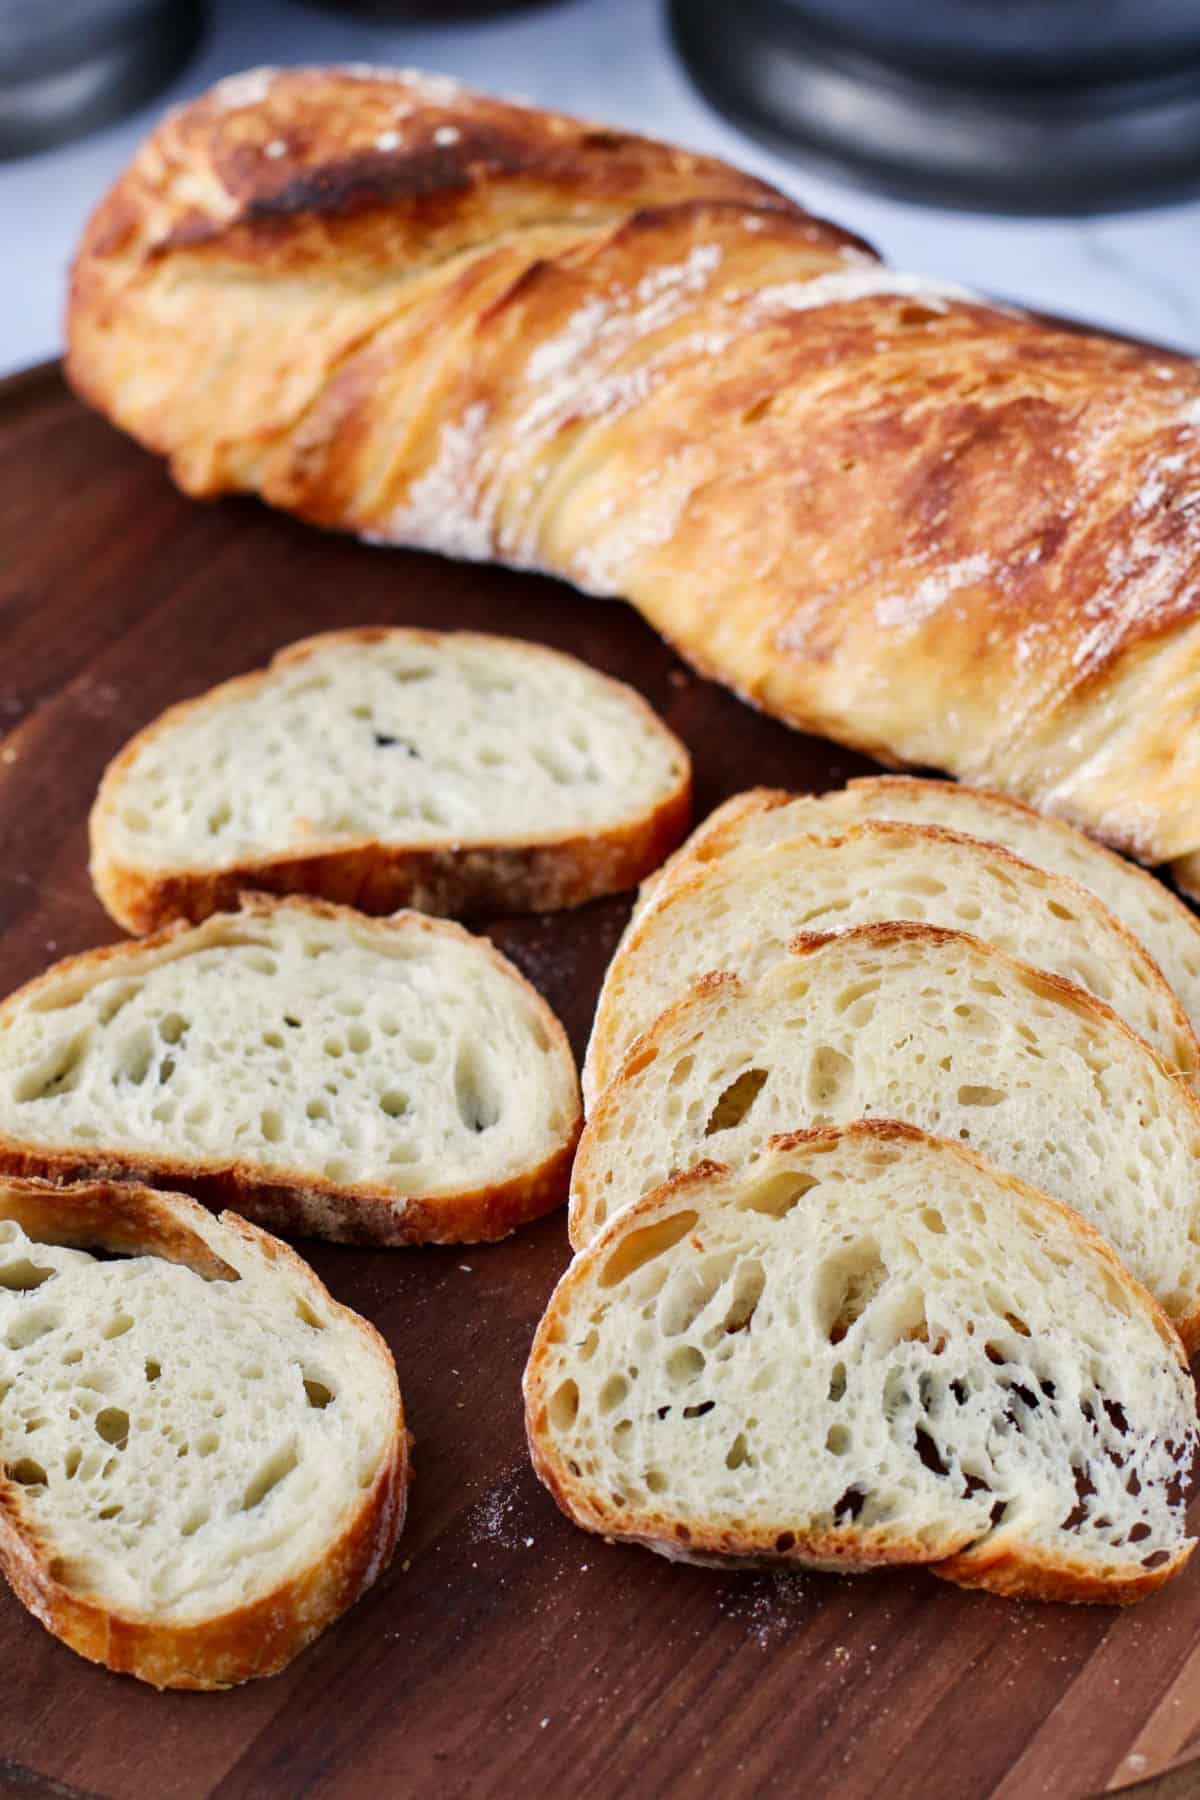
This bread is amazing. You can slice it crosswize, lengthwise for sandwiches, or just cut off a tiny slice and butter it. Each loaf is about 10 or 11 ounces. You can use it for toast, sandwiches, or just bread with dinner. It also makes great crostini.
You can also just twist the loaf before baking without giving much of a it a stretch, resulting in a fatter loaf for larger slices.
This method is also great for combining bread flour and whole wheat flour.
This recipe was originally posted in August, 2014, and updated July, 2022 with new photos, information, ad updated recipe card.
Recipe inspired by My Bread by Jim Lahey.
No Knead Durum Stirato Bread

Ingredients
- 200 g bread flour
- 200 g durum flour
- 8 g salt
- 1 g (1/4 tsp) instant yeast
- 300 g cool water
Instructions
- Mix the dry ingredients in a large bowl.
- Add the water and mix with a large spoon or dough whisk until just combined. Cover with plastic wrap and allow to rise at room temperature for about 12 to 18 hours, until doubled.
- Scrape the dough out onto a heavily floured surface.
- Gently nudge the dough into the shape of a rectangle and then fold it over itself from each long side as if you were creating an envelope. With your hands, gently roll the dough out into a tube and then cut the dough in half, width-wise.
- Place the dough pieces, seam side down, on a well-floured sheet pan sized piece of parchment and cover with oiled plastic wrap.
- Place a baking stone on the center rack of your oven and place whatever cover you will be using on top of it or set up your oven for steam. I used an upside down roasting pan about the size of the baking stone. If you dont have a baking stone, you can use a baking sheet. Preheat the oven to 475 degrees F.
- When the dough has about doubled (30-45 minutes), pick up each piece, twist it, and stretch it out to about 11 to 13 inches. In this case,
- Remove the hot cover from the stone, and, using a peel or the back of a baking sheet. drag the parchment with the dough onto the stone and place the hot cover/s over the loaves.
- Bake for 20 minutes. Uncover and bake for another 10 to 20 minutes, until a golden brown.
- Cool on a wire rack.
Nutrition Facts
Calories
87.7Fat (grams)
0.53Sat. Fat (grams)
0.09Carbs (grams)
17.99Fiber (grams)
0.32Net carbs
17.67Sugar (grams)
0.04Protein (grams)
3.23Sodium (milligrams)
195.26Cholesterol (grams)
0



Wow, I'm going to try this. I love the combination :-)
ReplyDeleteThanks Marion, I was pretty happy with it.
DeleteKaren sound good have to try them
ReplyDeleteThanks Zella!
DeleteI love this idea, Karen. I'm definitely going to try this Durum one and the other version. So many breads, so little time.
ReplyDeleteI know what you mean Cathy, Fortunately, these are super easy.
Deletewonderful bread! I might make this when we come back from a trip (much needed few days vacation!)
ReplyDeleteyour bread posts are a constant source of inspiration! I've been flirting with that clay baker, but so far resisted..... You are making it a little harder....
That's my job Sally, =)
DeleteI love the color of the crust. The crumb looks so nice and creamy too. I've only tried semolina flour in bread, never durum. I can only imagine it being even better to bake with.
ReplyDeleteIt's harder to find, but it does act more like AP flour Derik.
DeleteThat crust is gorgeous! And the crumb ain't too shabby either. Don't you love the covered baker? One can never have too many kitchen implements. (I'm channeling The Honeymooners here. "But can it core a apple?)
ReplyDeleteI do love that baker!! And I'm so a fool for new kitchen stuff. I could spend hours in Sur la Table.
DeleteI have some Granoro durum wheat / semola flour. Would that be the correct type of flour to use?
ReplyDeleteI'm pretty sure that would work. Durum is semolina that has been ground fine like all purpose flour.
DeleteIs the 12-18 hour rise at room temp or refrigerated?
ReplyDeleteRoom temp.
DeleteKaren,
ReplyDeleteIt doesn't mention scoring them.....is that correct ?
Hi Cindy, That is correct. No scoring.
DeleteThey were very good Karen. I posted on your FB page, but didn't see this until after they were baked. I scored. I love Durum flour.
DeleteI'm so glad you liked these!! They are so easy and delish.
DeleteThat's such a gorgeous loaf of bread!
ReplyDeleteMine are on the rising stage now, I’m not sure I understand how to do the twisting part before they go into the oven. Would it be possible for you to post a picture of this step later?
This time I’ll just wing it and see what happens .
Thanks Laura.
DeleteNext time I make this, I'll try to take a photo! Basically, it's a gentle pull one either end, and then turning each hand in the opposite direction. It's supposed to help the bread stay round instead of flat.
Hi Karen,
DeleteThanks so much for your quick response, I just took them out of the oven and they look beautiful ! 😋
I did exactly as you say in your answer. Don’t you love the crackling sound when they are cooling down? Can’t wait to taste it! I wish I could attatch a photo. Thanks again for posting the recipe.
Yay!!!
DeleteCould i use 100% fine semolina? We don't get durum or bread flour here.
ReplyDeleteHi Liz, durum is finely ground semolina, and bread flour is high protein flour with strong gluten. I don't know if this would work with 100% semolina because you would not get the gluten strength. I would try whatever strong wheat flour you can get your hands on for half of the flours, and then try it with the fine semolina.
DeleteHi there! I've been trying to make this bread. But the dough is very wet. Is that normal? I've used the above measurements.
ReplyDeleteThank you!
The dough is very wet and sticky. That's completely normal. If your area is very humid, you can add a bit more flour, but not much.
DeleteI could slather butter on that bread and be a happy camper
ReplyDeleteHey Karen!
ReplyDeleteThis bread looks amazing.
We don't get durum flour in India.
What can I substitute it with?
I would just susbstitute bread flour.
DeleteThis is glorioous! I so need to diversify my bread making as soon as the weather cools down!
ReplyDeleteKaren, I have made Jim Lahey's Stirato twice now. The 1 st loaf came out very much like yours on the outside
ReplyDeletewith the split in the middle. The inside crumb was way too holey. The one I made yesterday I used Jim's method of rolling and rolled a little tighter. the crumb was tight with small holes. I am rtying to obtain the size of the holes in the crumb like are shown in your pictures. Do you have pictures of your folding envelope method? The bread is delicious and so much easier than mty French Baquette recipe that takes 3 days.
Thanks,
Barbara
Hi Barbara. Totally easier than baguettes! I wish I had shaping photos. All I can say is I'm VERY gentle when folding (basically into thirds, like a business letter) and rolling. Also with the twisting and stretching. These photos are from two different sessions, with the 6th and 7th being from years ago, and the rest from this year.
DeleteHello Karen,
ReplyDeleteI would like to know which durum flour brand you have used to make Italian baguettes. And where to buy it from.
Thank you!
I buy it from King Arthur baking. I've ordered it by mail.
DeleteThis is THE bread recipe for my family. The texture is creamy and amazing, the durum adds a depth of flavor that takes it to the next level, and it is great by itself, in sandwiches and sopping up dinner. The rising time doesn't really fit my schedule, so after it's risen at room temp as long as I can manage, I put it in the fridge overnight. I pull it out, and either shape it and let it come to room temp, or let it come to room temp then shape. It's a very forgiving recipe. Thank you!
ReplyDeleteThat's so good to know Adrienne!
Delete