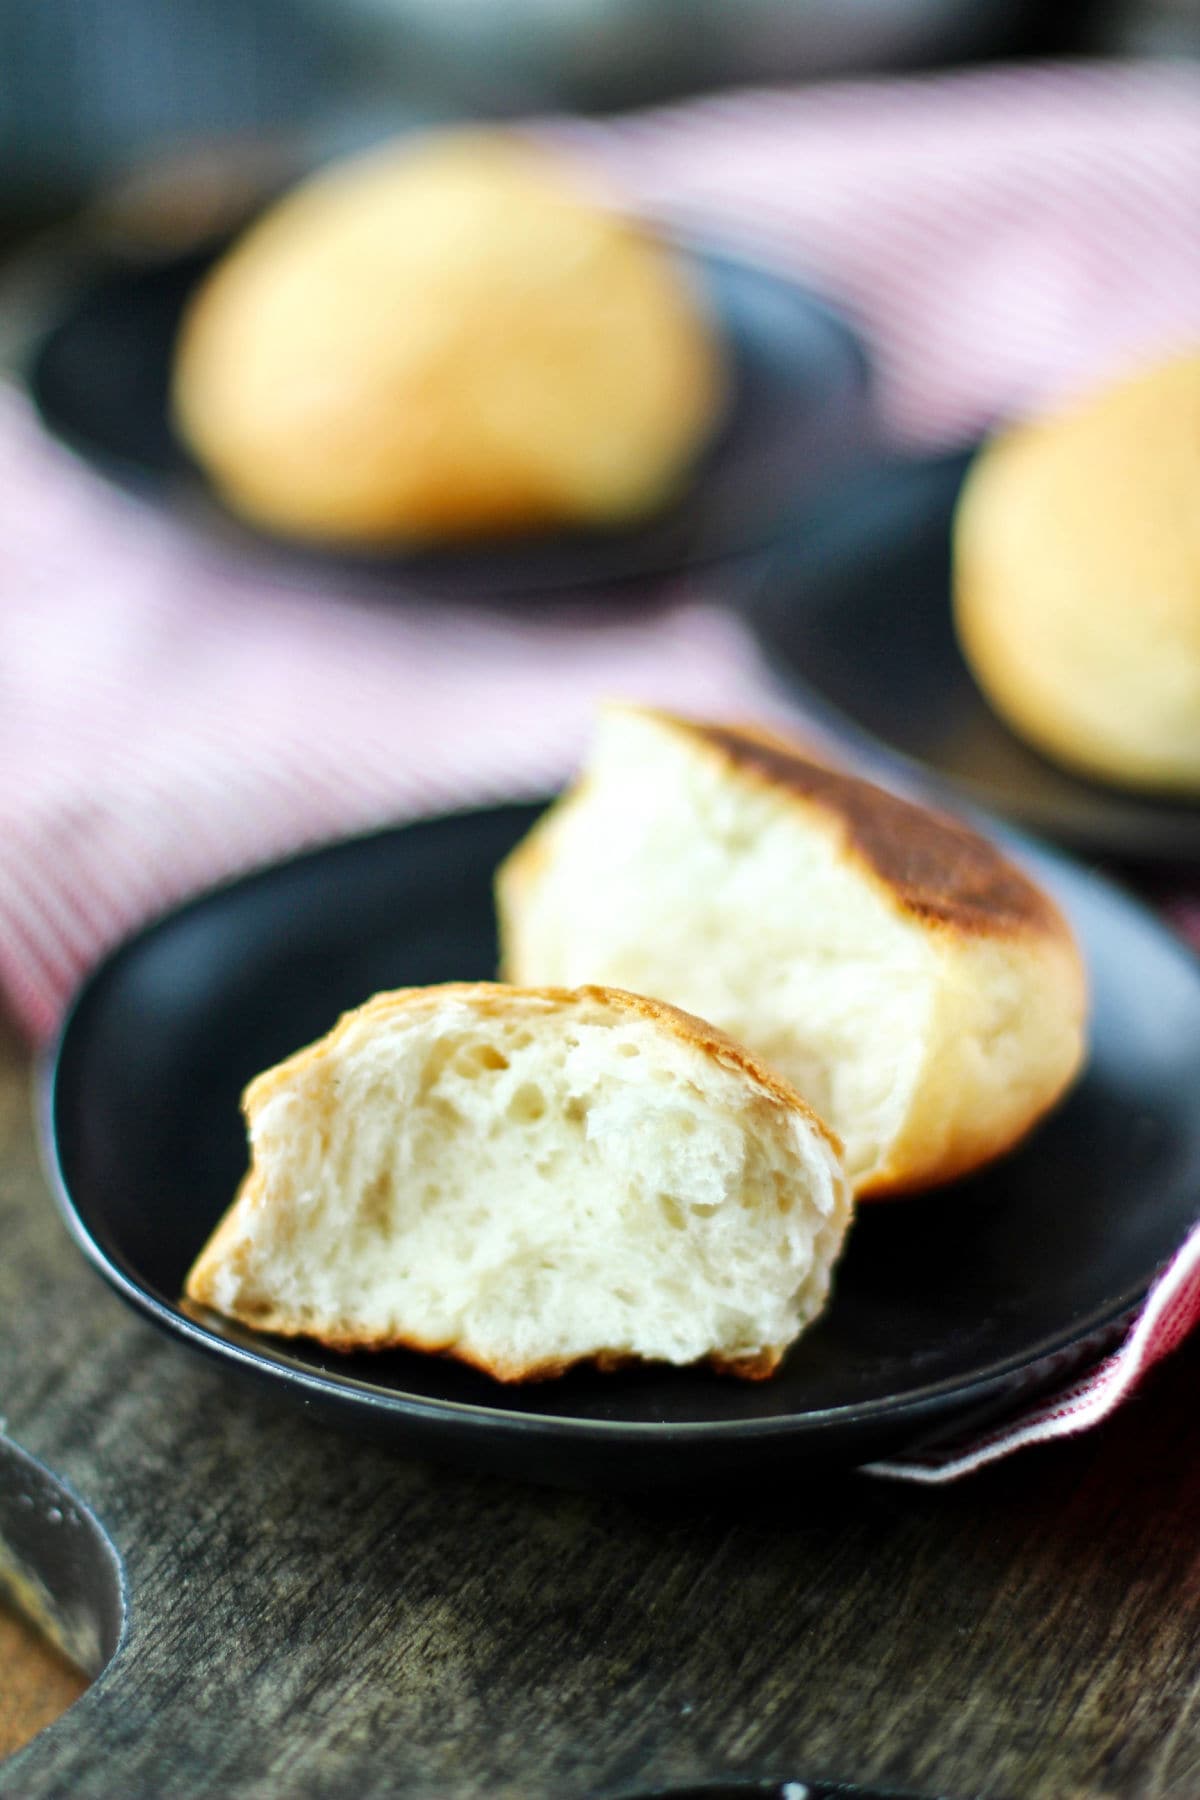
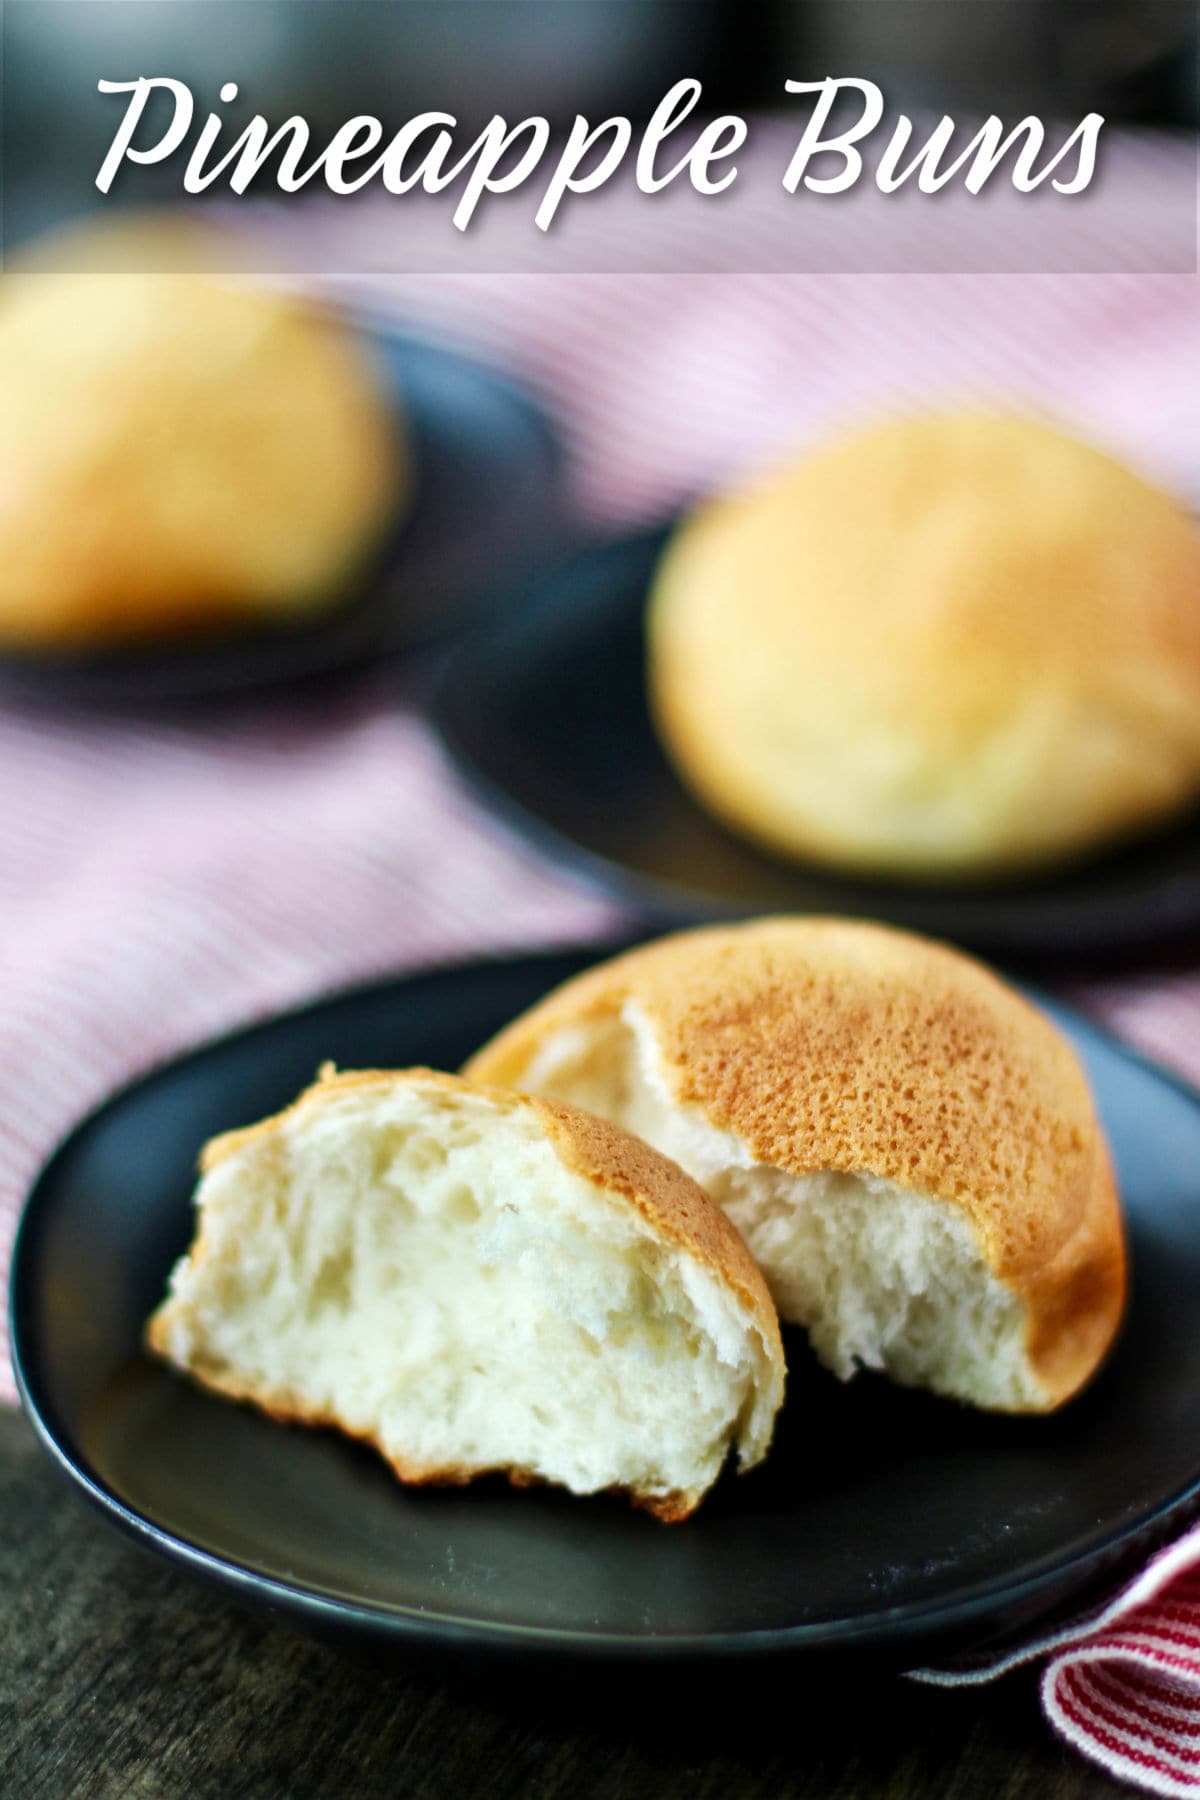
These pineapple buns are light, soft, and airy. They are a Hong Kong bakery tradition.
Oddly enough, pineapple buns do not contain any pineapple! They get their name because of the sweet crust on top of the bun.
Traditionally, the buns are topped with a thicker, almost cookie crust made that, when the buns cook, cracks and begins to look a bit like a pineapple. These bolo buns are a little different in that they are topped with a thinner, slightly sweet crust that becomes super crisp while baking.
They are made with a soft dough that is enhanced with a tangzhong, a cooked flour and water paste that helps the dough absorb more water. The resulting rolls are lighter than air. To illustrate, the dough, with only 13 1/2 ounces of flour yielded 20 rolls that were three to four inches in diameter.
The interior is almost like cotton candy.
Thin and crispy pineapple bun topping:
The topping for these buns is made with the traditional combination of egg, flour, vanilla, butter, and sugar, but it is more like a batter instead of a dough.
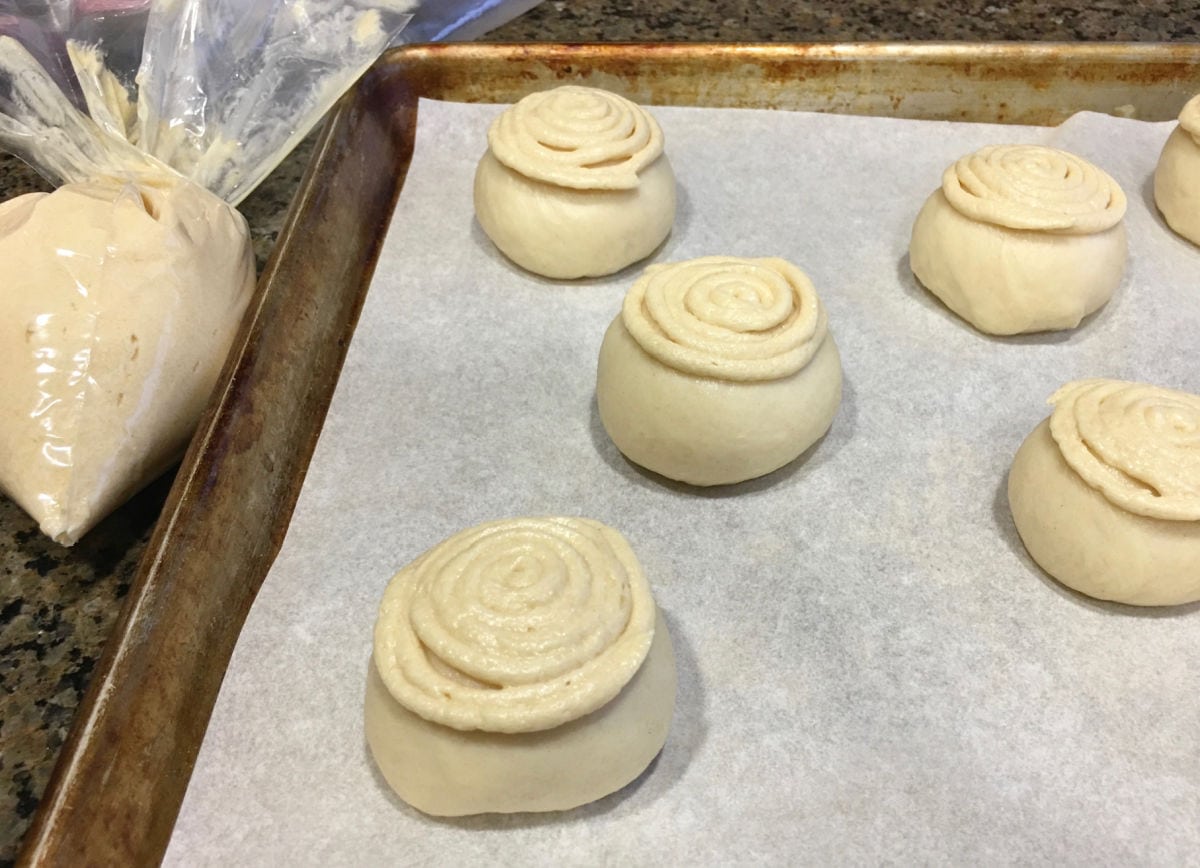
You pipe the topping on top of the risen buns right before baking them. The resulting topping is shatteringly crisp and so delicious. Plus, it's slightly sweet, but definitely not too sweet.
To pipe the topping onto the buns before baking, place it in a Ziplok bag and cut a 1/4 inch hole in the corner. Next, pipe the batter in a spiral until you have a 2 inch wide circle that is about 1/4 inch thick.
This version, adapted from Cook's Illustrated, is inspired by the Pineapple buns served at Tim Ho Wan, the only Michelin star dim sum restaurant in Hong Kong. I totally couldn't resist!
How to serve these pineapple buns:
Pineapple buns are often served warm, split through the middle, with a slab of melting butter. You could also add some jam.
There are also versions filled with custard or red bean paste.
One of my favorite fillings for these buns is char sui, or Chinese barbecue pork. The slight sweetness of the pork goes perfectly with these buns.
While not traditional, you can actually use these buns to make sandwiches too... or serve them in your bread basket at Thanksgiving... or to sandwich Thanksgiving leftovers.
Or... make them without the topping for the softest and fluffiest dinner rolls you've ever had.
What to do with leftover pineapple buns:
The beauty of the tangzhong method is that it helps keep bread fresh longer too. These rolls will remain soft and fluffy for 3 to 4 days in an airtight container (mine lasted 5 days!). You can also individually wrap and freeze them for later.
The "pineapple" coating will lose its crispiness and become slightly sticky pretty quickly, so to recrisp the rolls, place them in a 350 to 400 degree F oven for about five minutes and your rolls will be as fresh as the day you baked them.
More great bread recipes with tangzhong:
Tangzhong whole wheat and rye bread
Wool roll bread with cheese and herbs
Welcome to this month's Bread Bakers. Our theme this month is tangzhong. I am the host this month! Be sure to check out everyone's bread recipes using tangzhong:
- Easy Cinnamon Rolls from The Wimpy Vegetarian
- Eggless Nasturtium Greens Sandwich Bread (Tangzhong Method) from Cook with Renu
- Japanese Chocolate Milk Bread from Passion Kneaded
- Japanese Milk Bread Buns from Ambrosia
- Japanese Milk Bread Rolls from A Day in the Life on the Farm
- Pineapple Buns (Bolo Bao) from Karen's Kitchen Stories
- Sourdough Pumpkin Babka from Zesty South Indian Kitchen
- Tangzhong Kolaches from A Messy Kitchen
- Tangzhong Loaf With Cinnamon Sugar Topping from Sneha's Recipe
- Tangzhong Pumpkin Cinnamon Buns from Magical Ingredients
- Tangzhong Sourdough Bread from Food Lust People Love
#BreadBakers is a group of bread loving bakers who get together once a month to bake bread with a common ingredient or theme. Follow our Pinterest board right here. Links are also updated each month on this home page.
We take turns hosting each month and choosing the theme/ingredient.
Pineapple Buns (Bolo Bao)

Ingredients
- 1/2 cup water
- 13 1/3 ounces (378 grams/2 2/3 cups plus 2 tablespoons) all purpose flour, divided
- 1/2 cup whole milk
- 1 large egg
- 3 ounces (85 grams/1/3 cup plus 4 teaspoons) granulated sugar
- 3 1/2 teaspoons dry milk powder
- 2 1/4 teaspoons instant yeast
- 1 teaspoon salt
- 4 tablespoons unsalted butter, cut into 6 pieces, softened
- 3 1/2 ounces (99 grams/2/3 cup plus 2 teaspoons) all purpose flour
- 1/4 teaspoon baking powder
- 1/4 teaspoon salt
- 6 tablespoons unsalted butter, softened
- 2/3 cup confectioner's sugar
- 2 large eggs, beaten
- 2 teaspoons vanilla extract
Instructions
- Whisk the water and 2 tablespoons of the flour in small microwave-safe bowl until smooth.
- Microwave in 20 second bursts, whisking between each, until the flour and water mixture thickens to a pudding consistency and reaches 150 degrees. The whole process should take 40 to 60 seconds.
- Whisk in the milk and then whisk in the egg.
- In the bowl of a stand mixer, whisk together the rest of the flour, the sugar, milk powder, yeast, and salt.
- Add cooked flour (tangzhong) mixture. Using the dough hook, knead the ingredients on low speed, 1 to 2 minutes. Increase the speed to medium-high and knead for 10 to 12 minutes. The dough should be smooth and elastic.
- Switch to the paddle attachment, and with the mixer on medium speed, add the butter in pieces and mix until everything is fully incorporated and you have a cohesive dough.
- Form the dough into a ball and place it into an oiled bowl and let rise until doubled, 60 to 90 minutes.
- While the dough is rising, whisk together the flour, baking powder, and salt in small bowl.
- In the bowl of your stand mixer, beat the butter and confectioners’ sugar on medium-high speed until pale and fluffy. Add the eggs, one at a time with the mixer running.
- Add the vanilla and mix everything until the mixture is smooth, about 2 minutes. Add the flour mixture and mix on low speed until combined, about 30 seconds.
- Mix with a rubber spatula to make sure everything is fully mixed.
- Scoop the mixture to a 1-quart zipper-lock bag and snip a ¼ inch hole in one corner. Set aside until ready to pipe. Do not refrigerate.
- Line two baking sheets with parchment paper.
- Divide the dough into 20 equal pieces, forming each piece into a ball, and place the balls on the baking sheets (10 per sheet).
- Cover with oiled plastic wrap and let rise until puffy, about 1 hour.
- Heat the oven with a rack in the middle to 375 degrees F.
- Pipe the topping in a tight circular pattern (see photo) about 2 inches in diameter.
- Bake the rolls, one sheet at a time, for 14 to 16 minutes, until golden brown.
- Cool for about 10 minutes before serving.
Nutrition Facts
Calories
184.01Fat (grams)
6.93Sat. Fat (grams)
3.97Carbs (grams)
26.33Fiber (grams)
0.75Net carbs
25.58Sugar (grams)
8.44Protein (grams)
3.86Sodium (milligrams)
154.79Cholesterol (grams)
43.81


Thanks for choosing this theme Karen. Your Bolo Bao look scrumptious.
ReplyDeleteThanks for baking along!
DeleteOh that topping! It's like a concha, no? LOL, I was expecting some pineapple juice with the name, and seriously, as much as I love pineapple, I almost want to use pineapple juice for the water and see how they turn out! I suppose the would make them Hawaiian rolls...
ReplyDeleteyes, kind of like a concha! They would make fab hawaiian rolls!
DeleteThanks for selecting such a perfect theme this month. I'd never heard of tangzhong, but this will be my go-to method from now on. It's so dry up here, bread freshness has a very short life. And what a fascinating bread these pineapple buns are. I thought for sure they had pineapple in them!
ReplyDeleteWho knew, right? Thanks for baking along.
DeleteI've made pineapple buns before so I can tell you that I really appreciate the novel way of applying the topping. Piping looks so much easier than rolling it out!
ReplyDeleteI remember yours now!
DeletePineapple buns looks delicious I need to try it, I may try a sourdough version for sure.
ReplyDeleteThis sounds like another bread but I can't seem to remember the name. Oh dear! I came here expecting pineapple and learned something new. Love it.
ReplyDeleteI learn something new whenever I see a new recipe on your blog. Liked this and especially the topping. Delicious soft and yummy buns.
ReplyDeleteThis looks absolutely delicious. I love the topping and your bread looks soooo soft and fluffy!
ReplyDeleteHow interesting! They look really tasty. 💜
ReplyDeleteThese are amazing buns! Love it!
ReplyDelete