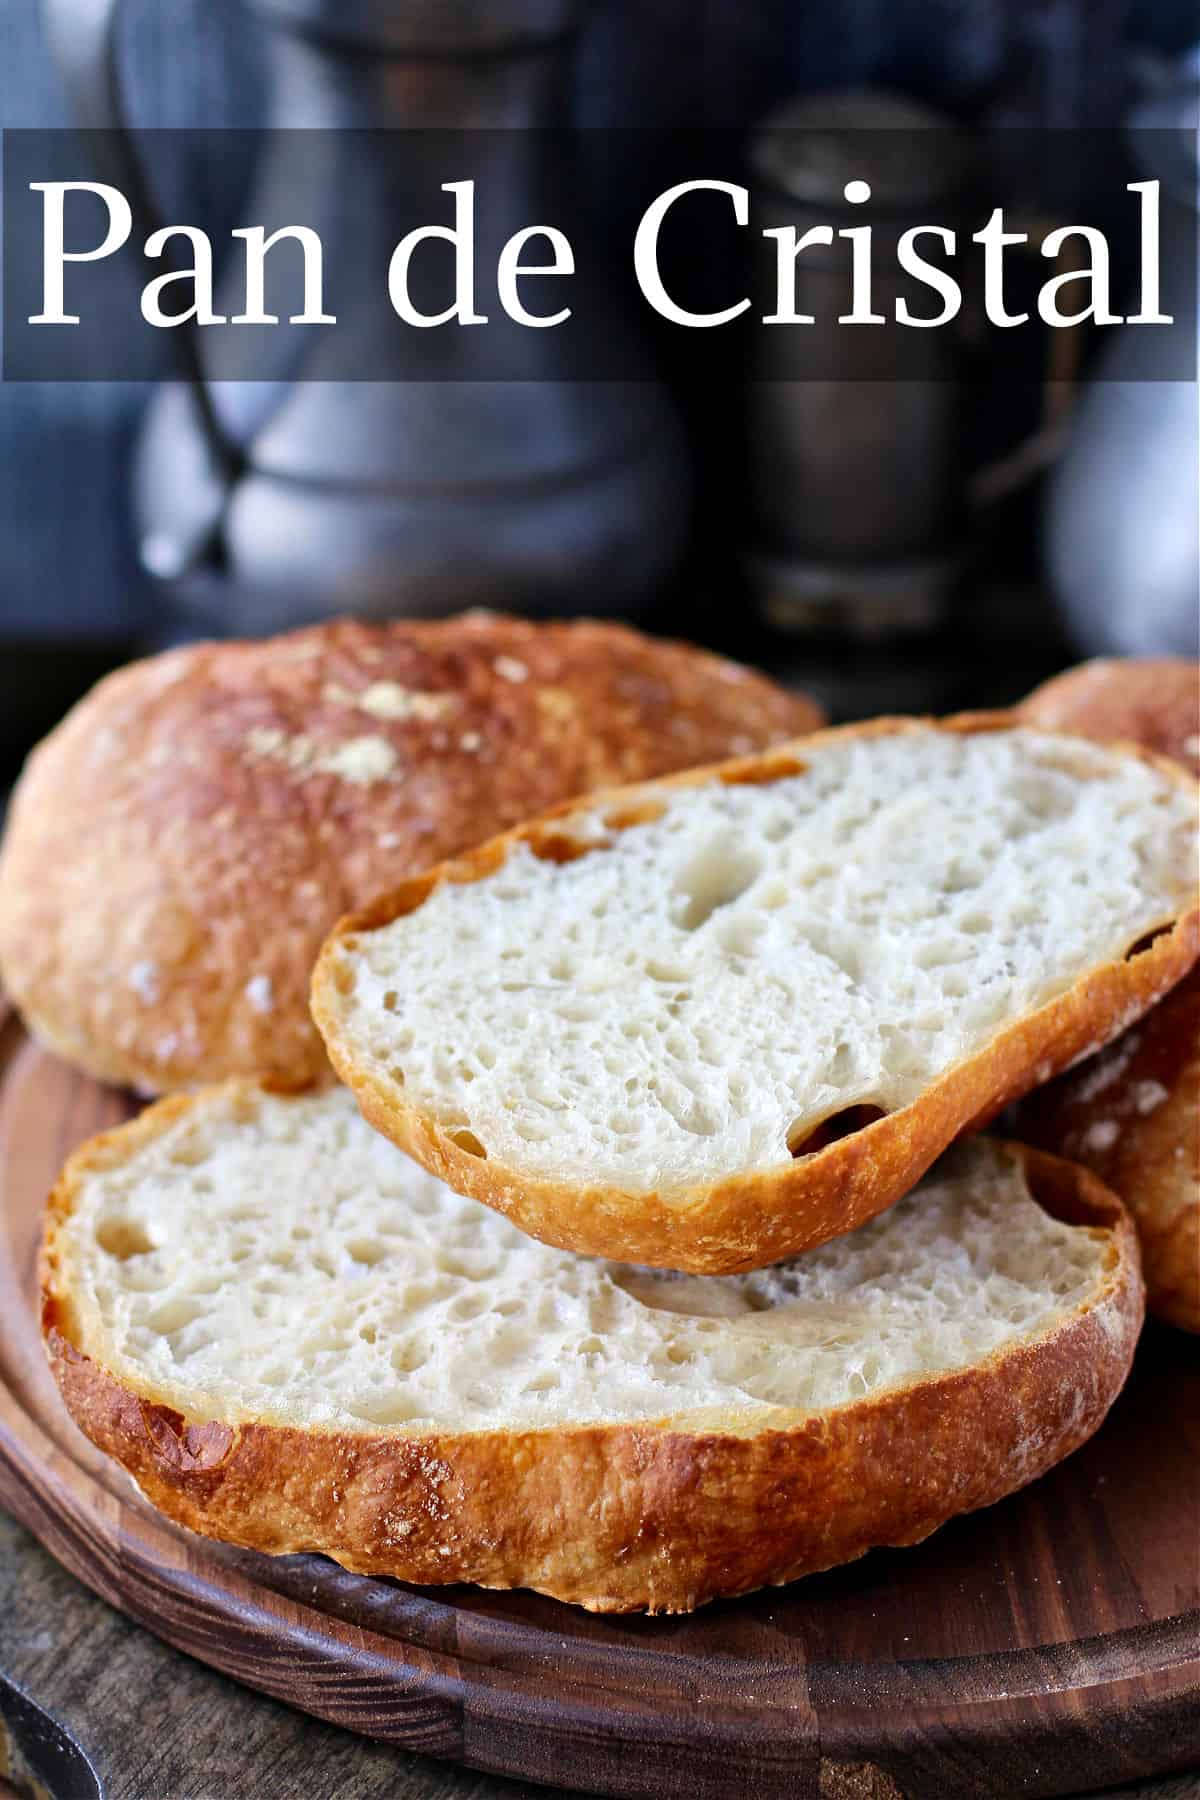
Pan de cristal is an amazing bread made with 100 percent hydration dough. It has roots in Catalonia, Spain, where it was developed about fifteen years ago.
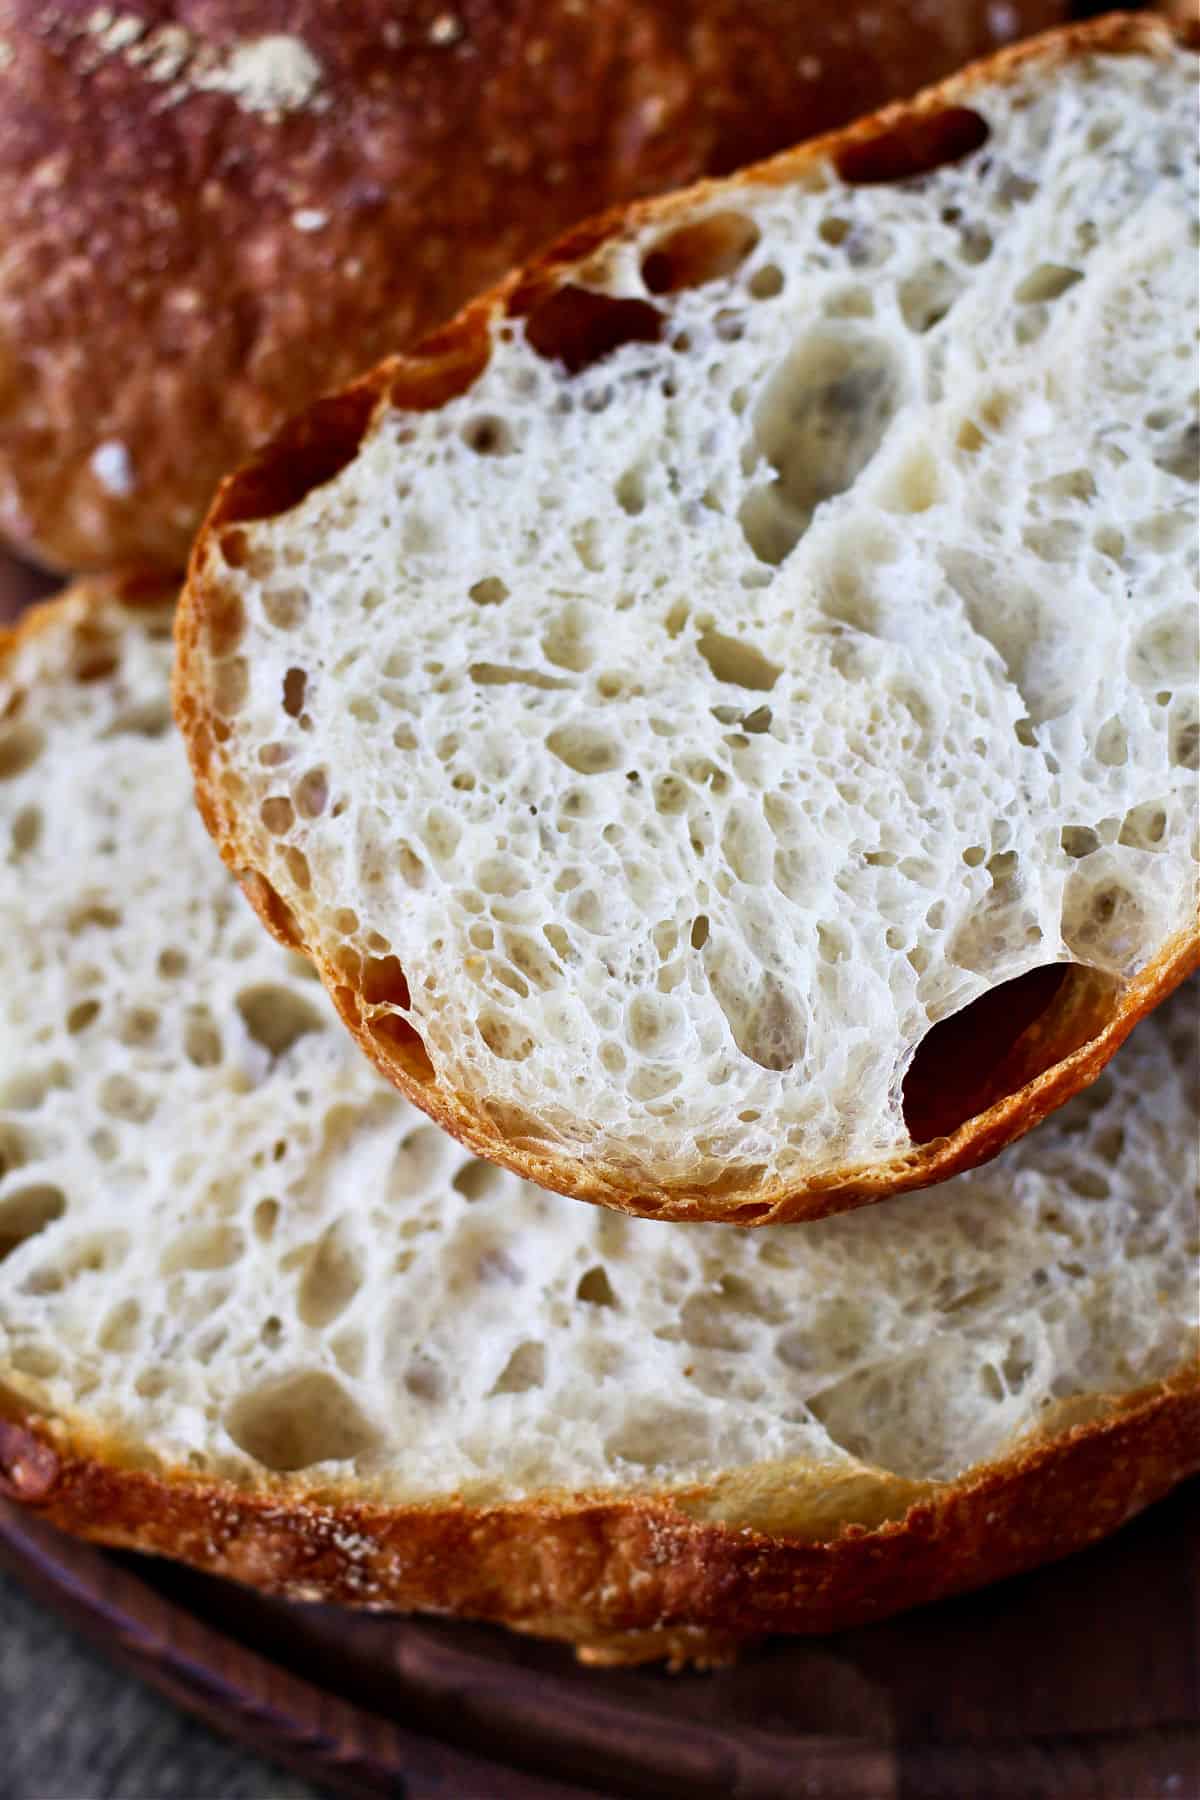
This bread comes with a shatteringly crisp and delicate crust (like glass) and a super airy crumb. In fact, when you slice it, the crumbs from the crust scatter all over your cutting board.
The dough for this bread will at first remind you of batter and less like dough, but by using some amazing techniques to develop the gluten in the dough, you will end up with some fabulous loaves.
This bread is similar to ciabatta, which is typically about 80 percent hydration (water to flour ratio by weight). Unlike ciabatta, the crust is much thinner and crispier, plus, the dough includes little or no olive oil incorporated into the dough... it's just flour, water, salt, and yeast.
The trick to making this bread with its high hydration is using a high protein flour that includes a little bit of added barley malt, specifically, King Arthur Flour Bread Flour. This bread flour has a 12.7% protein level and is malted (which helps with browning).
Incidentally, pan de cristal is now made by a Spanish bakery that ships it, frozen, to restaurants worldwide, but mostly to restaurants in Catalonia, a region in the north east coastal area of Spain bordering on France. The recipe is a supposedly a closely held secret.
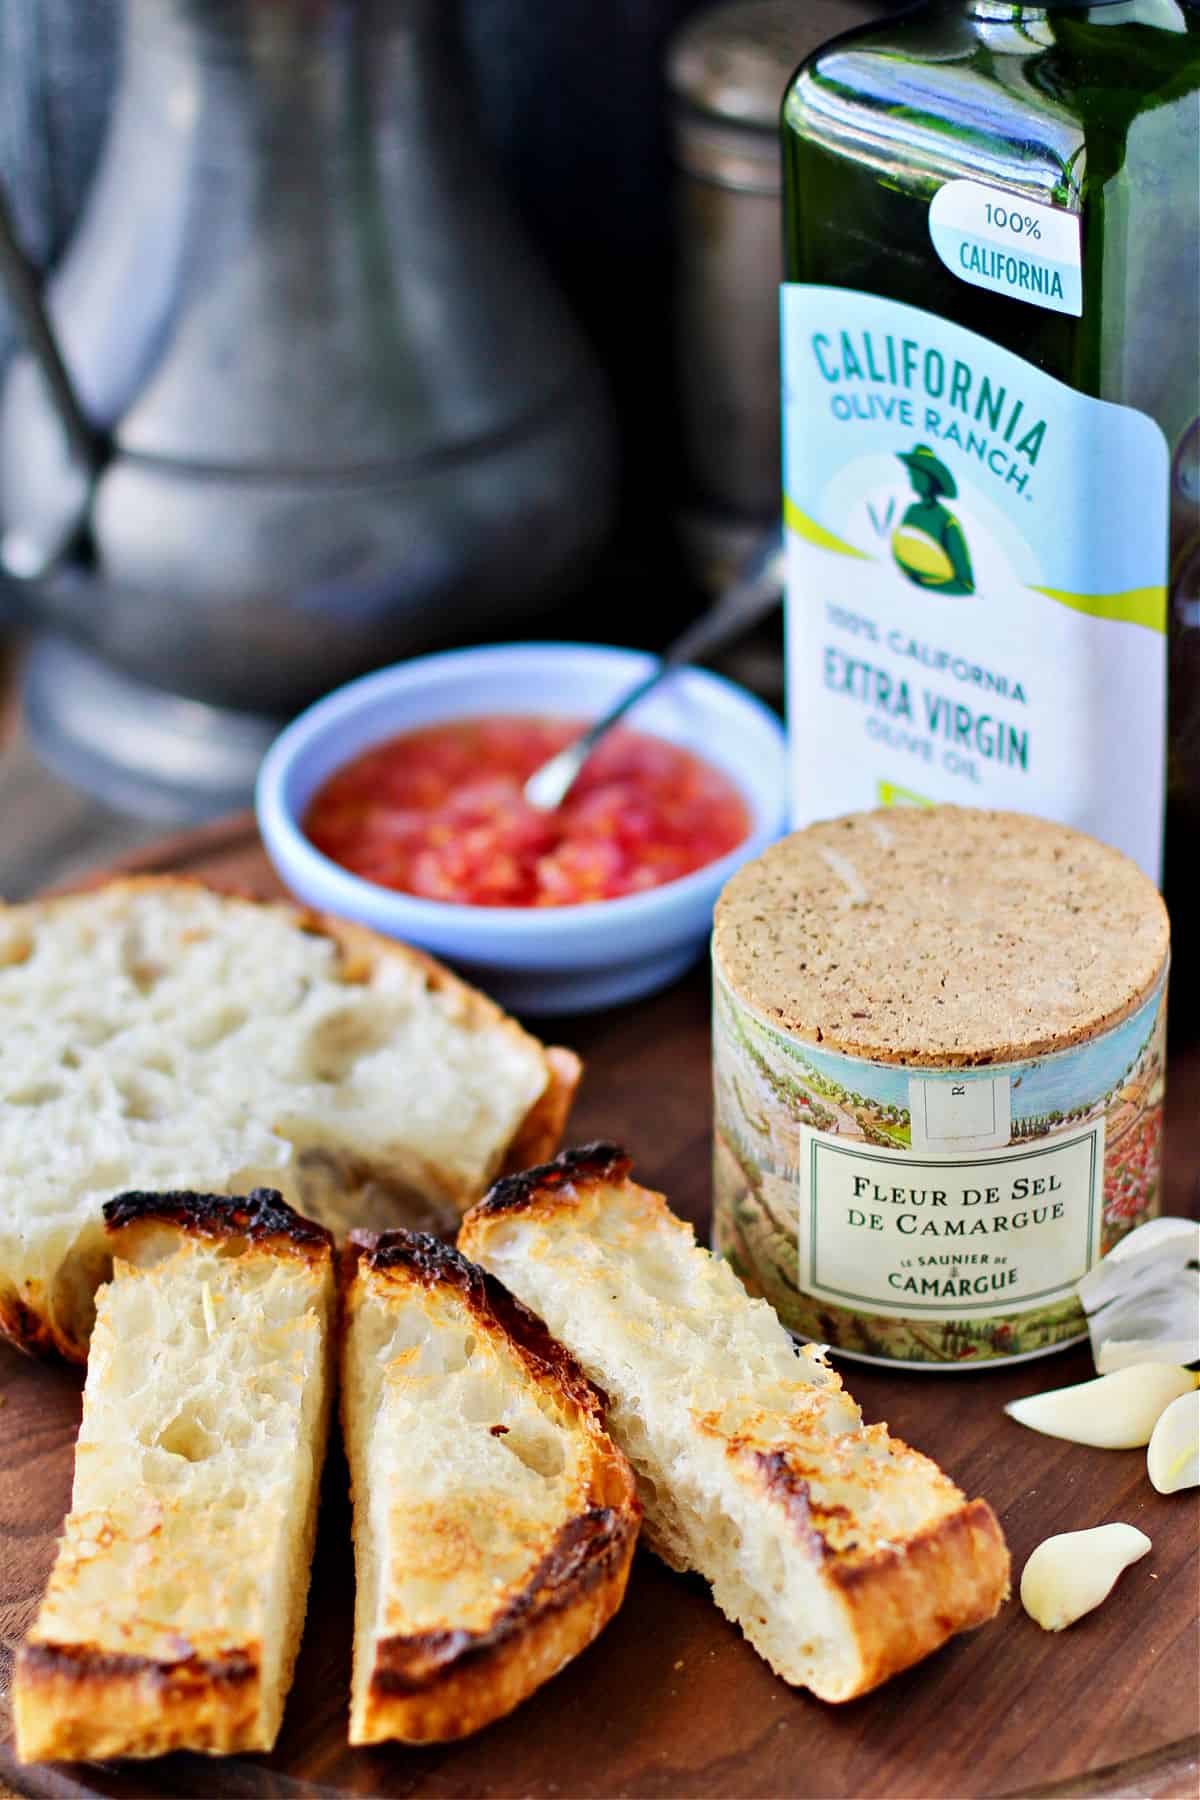
In Barcelona, you can find this bread in tapas restaurants roasted and spread with grated tomato, garlic and olive oil (pan con tamate, or pa amb tomàquet in Catalan).
P.S. for bread from a different region of Spain, you should definitely try Pan Gallego. It's a wonderful sourdough, and for an Italian bread with super high hydration dough, try Pane de Genzano.
As a bread geek, learning the techniques for making this bread was a revelation.
To make this bread, you first mix the flour, water, salt, and yeast in a bowl with your hand. You will find that the dough is pretty soupy and not at all "dough-like."
I used a dough whisk plus a dough scraper to mix everything together, but you can certainly use your hand (which I used to finish mixing).
The original recipe for this glass bread is evidently a well-kept secret, so there are several versions online. This version of the recipe is from King Arthur Flour as developed by Martin Philip. If you don't have his book, Breaking Bread, you need to get it. It's fabulous.
I like using a 2 or 3 quart shallow casserole bowl for mixing this dough.
Once you have combined the ingredients, scrape them into an oiled 7 inch by 10 inch glass pan (or a 9 inch square cake pan) and use your hand do do a "bowl fold," which is actually just grabbing the dough and folding it over the middle several times. Check the temperature of the dough to make sure it is around 72 degrees F.
If it is lower, move the dough to a warmer spot.
As mentioned above, this method depends on using a high protein flour such as King Arthur Flour bread flour. If you have a lower gluten flour, such as all purpose, you can either add some vital wheat gluten or use the "Rubaud Method," which is basically the bowl fold on steroids. It requires about two to three minutes of high speed stretching and folding and will pretty much wear your arm out (or build up your arm muscles).
At first, the dough will seem like it will never gain any strength (in fact, mine kept breaking into pieces when I'd pull it), but just treat it gently until you can feel it begin to tighten and become cohesive. After the first rest, you will be amazed.
Once you've done the bowl fold, you let the dough rest for 20 minutes. After that, you do a "coil fold," which involves lifting the dough up from the middle and allowing the dough to fold over itself as you lower it back into the container. You turn the dough 90 degrees and repeat several times until the dough develops strength. King Arthur Flour has an excellent video of both types of folds.
Rest and repeat three more times, and let the dough rest for 80 minutes. The dough will be super puffy.
Note #1: My dough developed strength and became fairly easy to handle very quickly, so I skipped the fourth coil fold and let the dough rise after three. That is the beauty of high protein bread flour.
You'll need to heavily flour your work surface before you turn the dough out. It will spread out quite a bit but will still by bouyant and puffy.
You will need a good bench scraper to divide the dough into four pieces. I like using a large wooden cutting board so that I can both flour the surface and cut the dough without worrying about my kitchen counter.
I cut a large piece of my favorite heavy duty parchment paper into four rectangles and gently transferred the dough onto each piece.
The hardest part for me was then letting the cut loaves sit for two hours, uncovered. I was sure they were going to either burst or deflate. Perhaps by leaving them uncovered, the outer crust dries a bit, holding everything together. Actually, it might be pretty brilliant.
If you compare the dough to parchment ratio on the photo above to the one below, you can see how much the dough rose. I will admit to cheating and baking the first two loaves at 90 minutes. There really wasn't a huge difference.
Note #2: The instructions on the King Arthur Flour site say to move the loaves to the upper rack after 15 minutes. I left my loaves on the baking stone in the middle of the oven to continue baking. If you do move them to a higher rack, watch them closely lest they burn on top.
I also placed a steam pan on the bottom rack of my oven and tossed in about a cup of ice cubes.
If you don't have a baking stone or baking steel, you can use a preheated cast iron skillet, but you might need to bake the loaves one at a time depending on the size of the pan.
These loaves freeze amazingly well after baking and cooling. Wrap them individually in foil, and then place them in freezer bags. When ready to use, thaw them wrapped in the foil. Once they are thawed, remove the foil and reheat them in a 400 degree F oven for about 10 minutes to recrisp the crust.
We sliced and served this bread with traditional Irish stew and everyone ate it up. It was so good dipped in the broth of the stew.
To make pan con tomate, grate tomatoes with a box grater until all you have left is the skin. Add some salt to the tomatoes.
Next, toast slices of the bread until crispy and browned and then rub the slices with peeled garlic haves. Spread the slices with some of the tomato mixture, drizzle with a little olive oil, and finish with a bit of sea salt.
So good.
This month, the Bread Baking Babes are baking Glass Bread. Our host kitchen is Kelly of A Messy Kitchen.
She challenged us to work with this high hydration dough! After the recipe, be sure to check out how the rest of the Babes fared with this bread.
Pan de Cristal - Glass Bread Recipe

Ingredients
- 500 grams water (2 cups plus 3 tablespoons). The water should be about 85 degrees F in warm weather or about 105 degrees in cold weather.
- 500 grams (4 cups plus 2 1/2 tablespoons) strong bread flour, preferably King Arthur Flour
- 2.5 grams (3/4 teaspoon) instant yeast
- 10 grams (2 teaspoons) table salt. I used flaked sea salt, which I weighed.
- 15 grams (1 tablespoon) olive oil
Instructions
- In a medium bowl, mixt the water, flour, yeast, and salt by hand or dough whisk. Oil a 7 inch by 10 inch (or 9 inch square) casserole dish or cake pan with the olive oil.
- Pour the dough into the pan and check the temperature. It should be around 72 degrees F. If it's lower, move it to a warmer spot to rise. Let rest, covered, for 20 minutes.
- Fold the dough from the outside toward the middle all around as you turn the pan. You should do about 8 to 12 folds, until the dough develops a little strength. Cover and let rest for 20 minutes.
- Next, with wet or oiled hands, lift the dough up from the middle (like you might lift a folded towel), and then let the drooped ends of the dough cascade down into the pan in folds. This is the "coil fold." Turn the pan and repeat. Continue to fold the dough until it begins to develop strength. Cover and let rest for 20 minutes.
- Repeat the fold and rest three more times, letting the dough rise for 80 minutes following the final coil fold. You may not need to do as many folds per session as the dough develops strength (you'll know that it is stronger when the ends drooping over are shorter).
- Turn the dough out onto a heavily floured surface by inverting the pan. Do not deflate the dough.
- Using a floured bench scraper, cut the dough into four pieces, and gently lift them with the scraper onto individual pieces of parchment paper. Generously sprinkle the tops of the dough pieces with flour.
- Let the loaves rest, uncovered, for two hours.
- In the meantime, heat your oven to 475 degrees F with a baking stone on the center rack and a steam pan on the bottom rack.
- Using a pizza peel, transfer two of the loaves, parchment included, to the pizza stone. Add a cup of ice cubes to the steam pan and bake for 15 minutes. Open the oven to release the steam and remove the parchment and bake for 15 minutes more.
- Repeat with the second two loaves.
- Cool on a wire rack.
Nutrition Facts
Calories
121.61Fat (grams)
1.47Sat. Fat (grams)
0.21Carbs (grams)
22.73Fiber (grams)
0.79Net carbs
21.94Sugar (grams)
0.1Protein (grams)
3.8Sodium (milligrams)
244.53Cholesterol (grams)
0The Bread Baking Babes:


Gorgeous perfection! And that pan con tomate looks amazing, like a Spanish bruschetta.
ReplyDeleteThanks Kelly!
DeleteLook at those bubbles in the fermenting dough!! If I get the courage to try this again, I will obviously have to let the dough rise longer so it can develop those giant bubbles.
ReplyDeleteYour bread looks gorgeous! Especially the pan con tomate....
Thanks Elizabeth. They were amazing!
DeletePan Con Tomate … well how incredible! Originated in Spain, well obviously this bread was made for pan con tomate. That is brilliant.
ReplyDeleteAs always Karen, your loaves really are profection. This bread is perfection.
Totally in with you on Martin’s Breaking Bread, it is a marvelous book.
Isn't it? Thanks so much.
DeleteYour bread is beautiful..... And your tomato bread is almost traditional and may be the way trendy tapas bars do it now.
ReplyDeleteHaving lived in Andorra and eaten at least a ton of pa amb tomaquet - after the garlic one takes a tomato half in the palm of your hand and rubs the cut side hard on the bread. Then the oil. A true Catalan would then eat the bread, followed by the tomato and garlic clove lol. I have it for breakfast all summer long.
Yes, I've heard about that traditional method!
DeleteCame out great. It didn't rise like yours though. Why did mine bake in 15 to 17 min ?
ReplyDeleteI know everyone has had different results and I'm not even sure I would have mine come out the same the second time, lol! Regarding the baking time, maybe your oven is hotter?
DeleteYour bread looks absolutely. This bread with that tomato, is the best way to eat it, in my opinion.
ReplyDeleteBeautiful bread with a lovely crust and crumb! I like the idea of Pan Con Tomate.
ReplyDeleteYou need to go 100% hydration to make crystal bread (at 80% you get a ciabatta, which is what’s pictured here - and looks great, don’t get me wrong - just not crystal bread or “pa de coca”). Also, it’s existed for way longer than 15 years. I remember eating it when I was a kid in Folgueroles, where this bread is originally from, and I’m 40 😅.
ReplyDelete