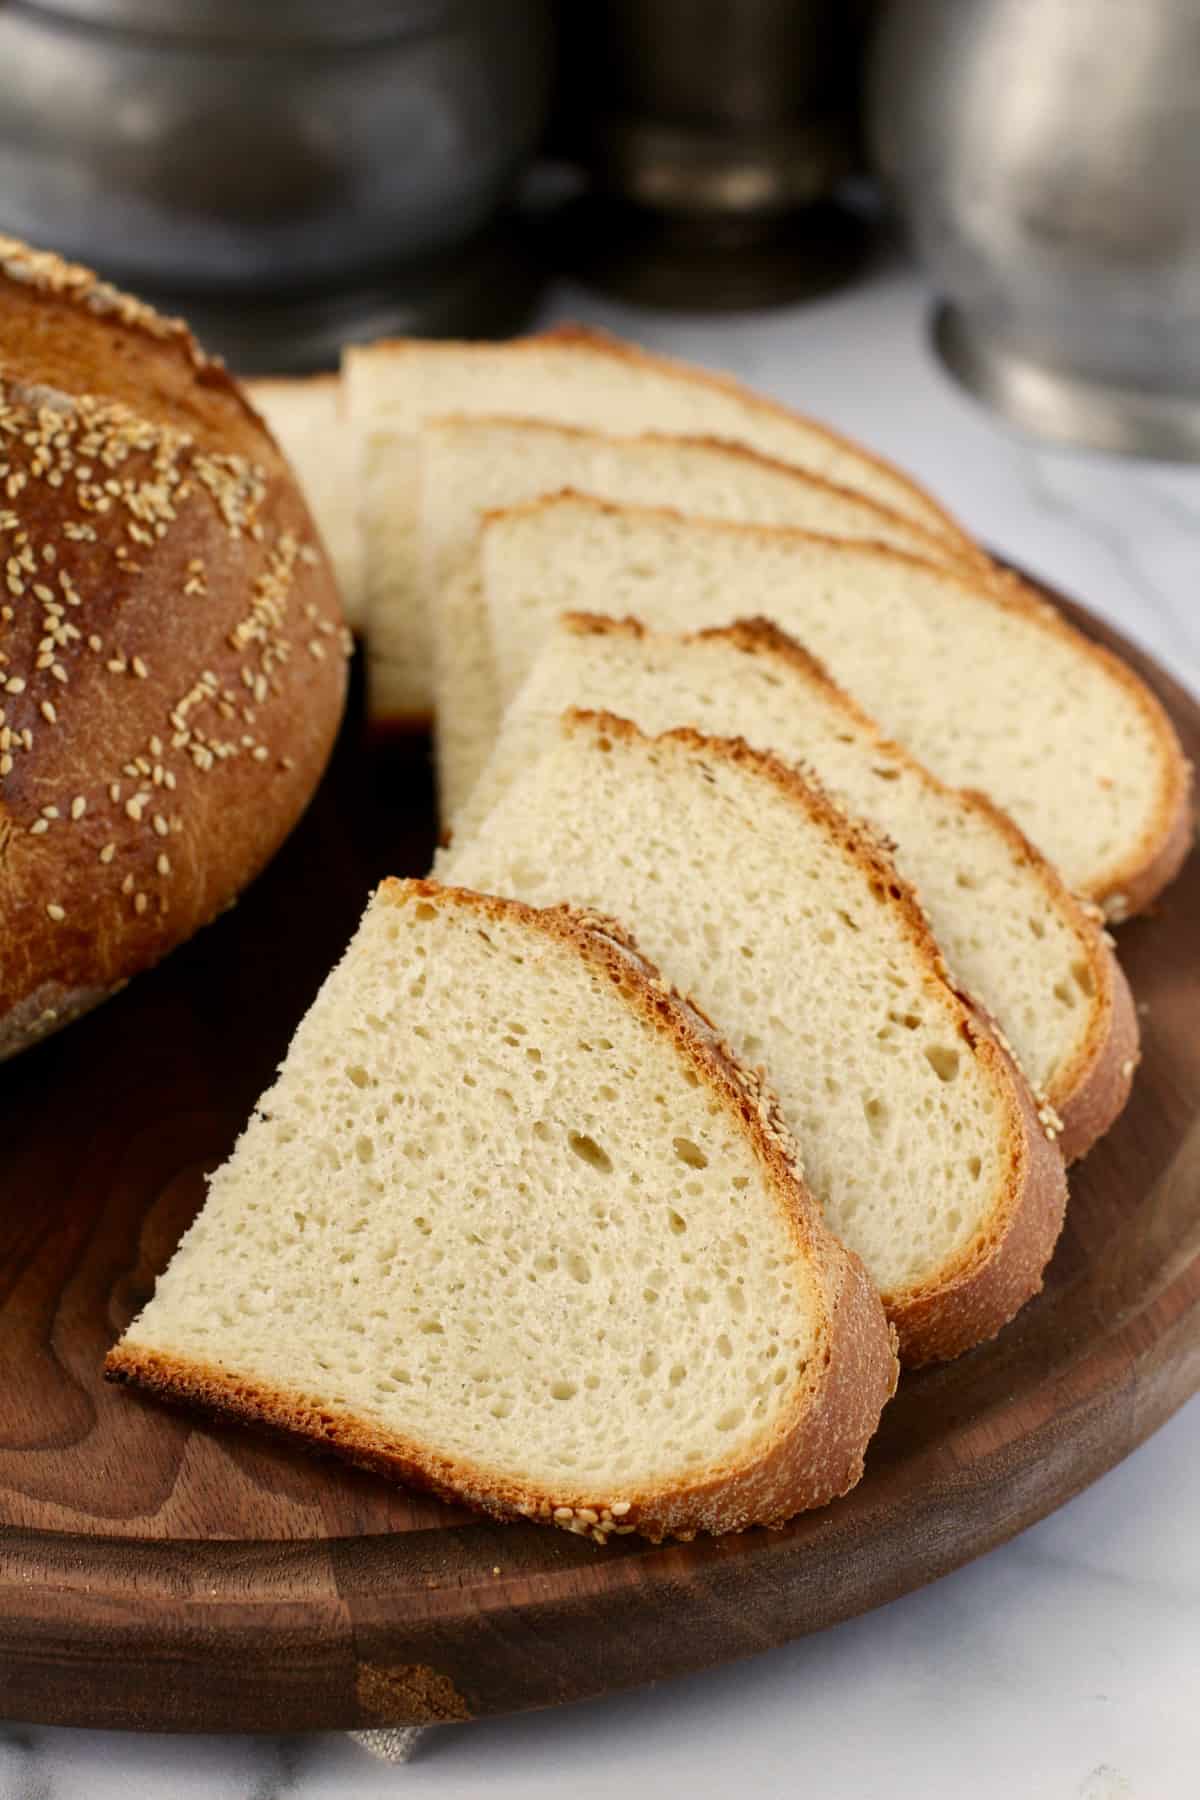
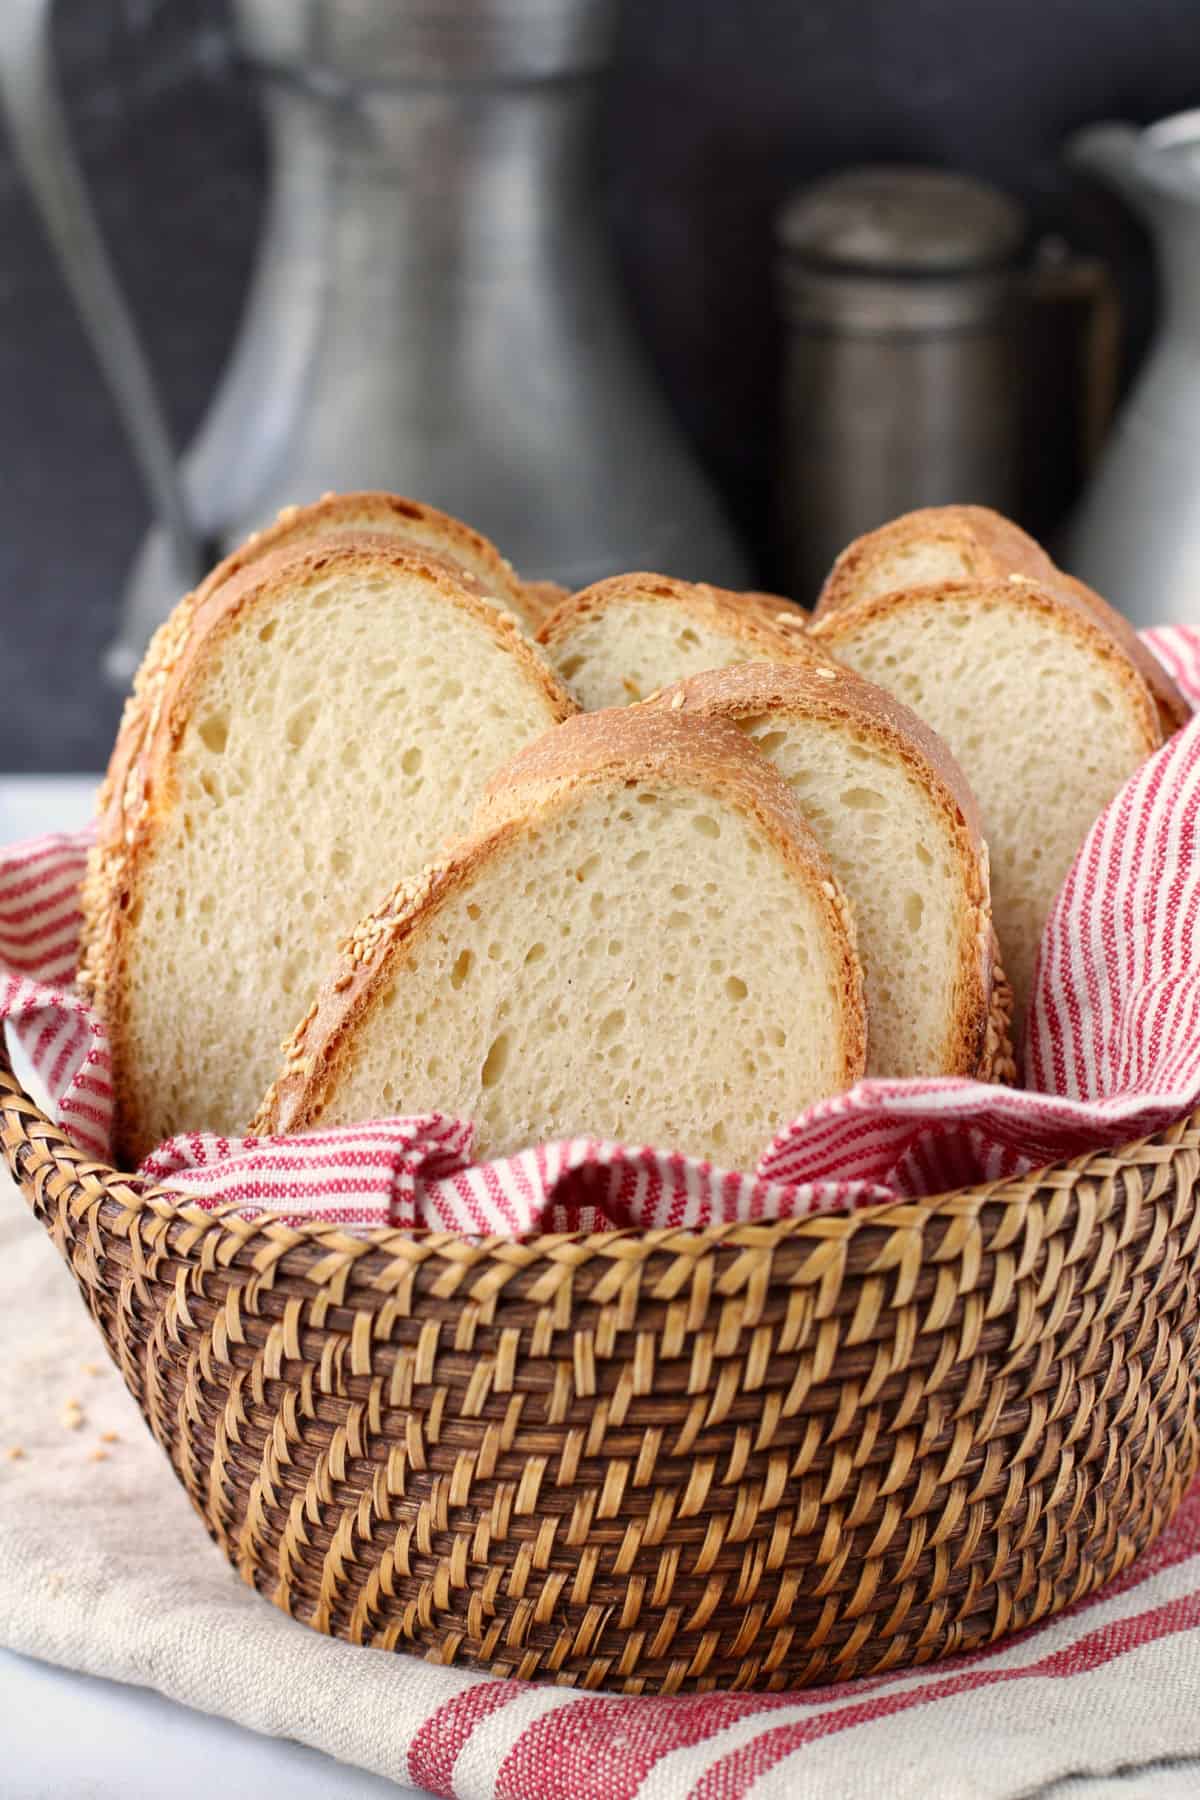
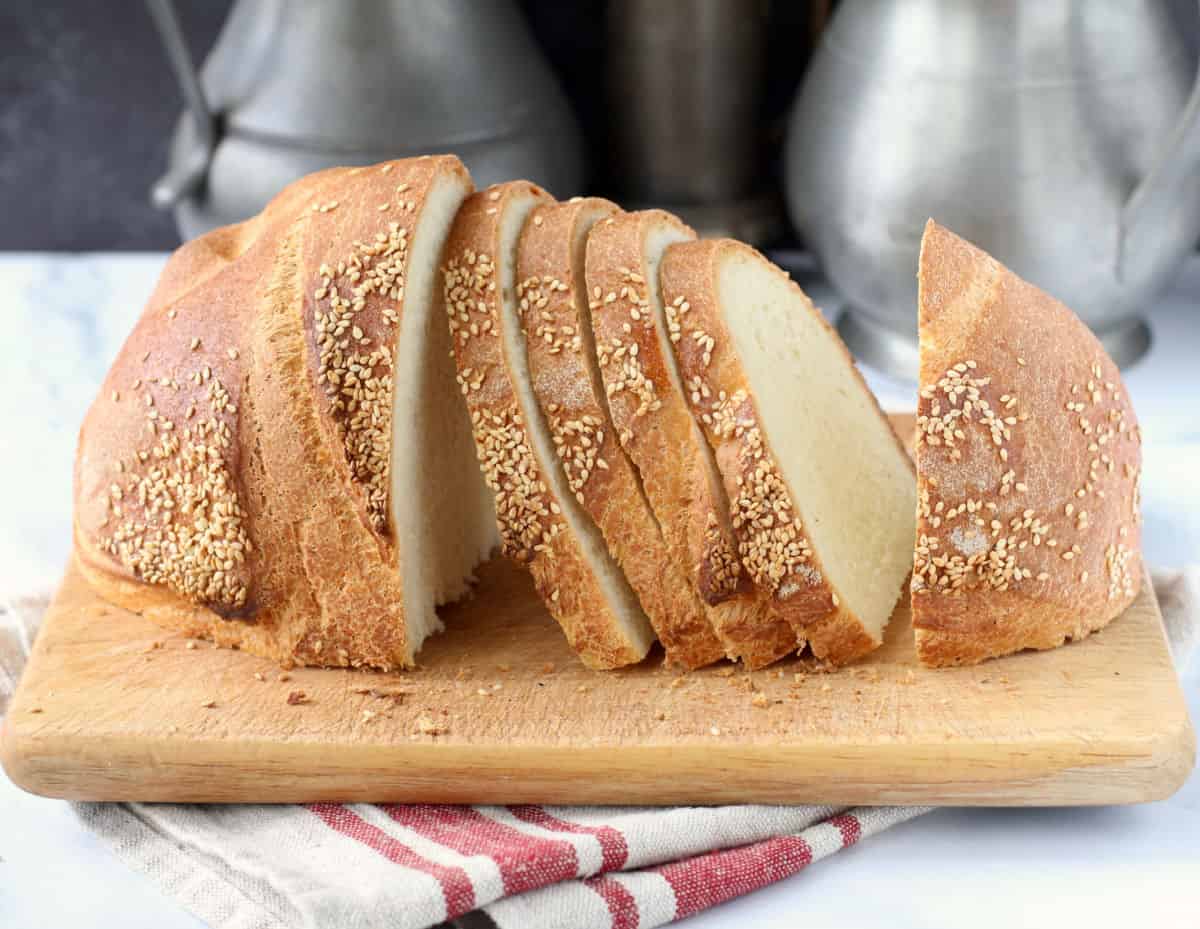
This Greek village bread, or horiatiko psomi (χωριάτικο ψωμί,) is a hearty bread with a crispy crust, perfect for serving with soups, stews, and salads.
This bread gets its gorgeous yellow color from the addition of fine semolina, a flour normally used to make pasta.
Ingredients:
This is an enriched bread, with milk and butter, resulting in a soft and tighter crumb compared to a lean dough.
In addition to the semolina flour, you will also need bread flour to help strengthen the dough.
Other ingredients include instant yeast, salt, and a small amount of sugar.
You can top the loaf with a coating of optional sesame seeds, which go so well with semolina.
How to Make this Horiatiki Psomi:
This bread is not very complicated to make. Just combine the ingredients and then knead them by machine or hand. Let the dough rise, shape it for a second rise, and place it into a bowl or banneton.
I baked this bread in a heated Dutch oven. You can also bake it on a stone with a steam oven if you prefer.
Coat it with the optional sesame seeds after brushing it with an egg white wash and then slash it with your favorite pattern.
The bread emerges from the oven with a crispy crust and a soft crumb. Be sure to let it cool completely before slicing it, as difficult as waiting might be.
Equipment You May Need:
While you can hand knead the dough, I used a stand mixer to knead the dough.
For the second rise, I used a 9-inch banneton lined with a floured tea towel. You could also use a deep 9-inch mixing bowl.
To bake the loaf, I used a preheated Lodge Combo Cooker Dutch oven.
More about Semolina:
Typically, it is a grainy flour from high protein durum (hard) wheat. It is typically used to make pasta, but can be substituted for some of the flour in bread. It also is wonderful in pizza dough.
I'm looking forward to working with it to make homemade pasta.
Once you've tried this bread, if you like the flavor that semolina brings, be sure to also try making Italian style durum wheat bread, no knead durum stirato, and potato semolina rolls. You'll love them all.
This bread is wonderful for toast, sandwiches, and for serving with soups or stews. It will keep at room temperature for a couple of days in a bag. To keep it longer, slice it and freeze it for up to a month.
This loaf was chosen for the Bread Baking Babes by Elle of Feeding My Enthusiasms from the blog, Super Golden Bakes, who has some great photos demonstrating the hand kneading and shaping methods.
After the recipe, there are links to all of the Bread Baking Babes' Greek Village Breads.
Greek Country Bread

Ingredients
- 520 g (4 1/3 cups) bread flour
- 1/2 cup fine semolina or durum flour
- 1 tablespoon sugar
- 2 teaspoons salt
- 2 teaspoons instant yeast
- 1 1/2 cups tepid water
- 1/4 cup milk
- 1/4 cup butter, melted and cooled
- Olive oil, for the rising bowl/bucket
- 1 egg white, beaten with 2 teaspoons water for the egg wash
- 3 tablespoons sesame seeds
Instructions
- Place the flour, semolina, sugar, salt and yeast in a large mixing bowl. Stir together to combine.
- Add the water, milk, and melted, cooled butter. Mix together on low speed using the dough hook attachment until the dough is elastic, smooth to the touch and forms a ball around the hook.
- Drizzle a bowl or dough-rising bucket with olive oil and turn the dough a few times so that it is greased. Cover the bowl or bucket with plastic wrap and let it rise for about 90 minutes, until doubled.
- Deflate the dough and turn out onto a worktop lightly dusted with a little flour.
- Shape the bread into a ball and let it rest, covered, for five minutes. Reshape it into a ball, turn it over, seam side down, and use your hands or bench scraper to scoot the dough to tighten the top. Place the shaped dough in a bowl or a prepped banneton, seam side up, to rise for the second time, covered.
- Preheat your oven to 450 degrees F (230 degrees C) for at least half an hour while the loaf is having its second rise. Place a lidded pot (Dutch oven) in the oven to preheat.
- Gently invert the bread onto a dough sling or piece of baking parchment. Brush with egg wash and sprinkle with the sesame seeds.
- Use a razor, thin sharp knife, or lame to score the top of the loaf. Carefully remove the pot from the oven. Lower the loaf into the pot, cover, and bake for 30 minutes.
- Reduce the temperature to 425 degrees F (220 degrees C). Remove the pan from the oven and move the loaf to a baking sheet and return it to the oven and bake for another 15-20 minutes, until the interior reaches about 205 degrees F.
- Allow the loaf to cool on a wire rack before slicing.


Beautiful color! I wish I had been able to find my durum wheat, will have to order more so I can then find the old one...
ReplyDeleteThat's the story of my life, lol!
DeleteWhat beautiful, beautiful bread. I really like the photo of it in the brotform. The crust looks so good! The white sesame seeds are also so jewel-like.
ReplyDeleteAwww. Thank you!
DeleteLovely color indeed! I used a bread cloche to bake my loaf, but I like idea of using the combo baker.
ReplyDeleteI am envious of your cloche!
DeleteWhat a great post! Not only is your bread gorgeous, but the post has great photos, a great rendition of the recipe and links to other blogs. Kudos.
ReplyDeleteThank you! And thanks for introducing me to this recipe!
DeleteThe challenge I would have is letting it cool - warm crusty bread is hard to resist
ReplyDelete